By Jack Woodward
By the end of this project you will have created… a four-legged thing!
Don’t forget to share your creation or post online and tag @natsatclub
Overview
As we grow up we sometimes loose that child like joy of creating something by simply jamming five sticks into a cardboard box and calling it a dog and having the conviction to say with out a doubt it is a dog. So, by following these steps you are going to make a four-legged thing.
Materials needed
- Cardboard boxes size varied
- Cardboard tubes x 5 (empty loo roll, kitchen roll tubes)
- Something to cut with a pair of scissors or craft knife,
- Tape
- Drawing/ painting materials (pencils, pens, crayons or paint)
- Ruler or straight edge for marking (optional)
Get making
Step by step guide:
1. Gather your materials these will vary depending on what you can find

2. Start by carefully undoing the seams of the box and laying flat brown side up (it’s easier to draw on it this way)
3. Mark the width for the body making sure to add another line for the folding flaps
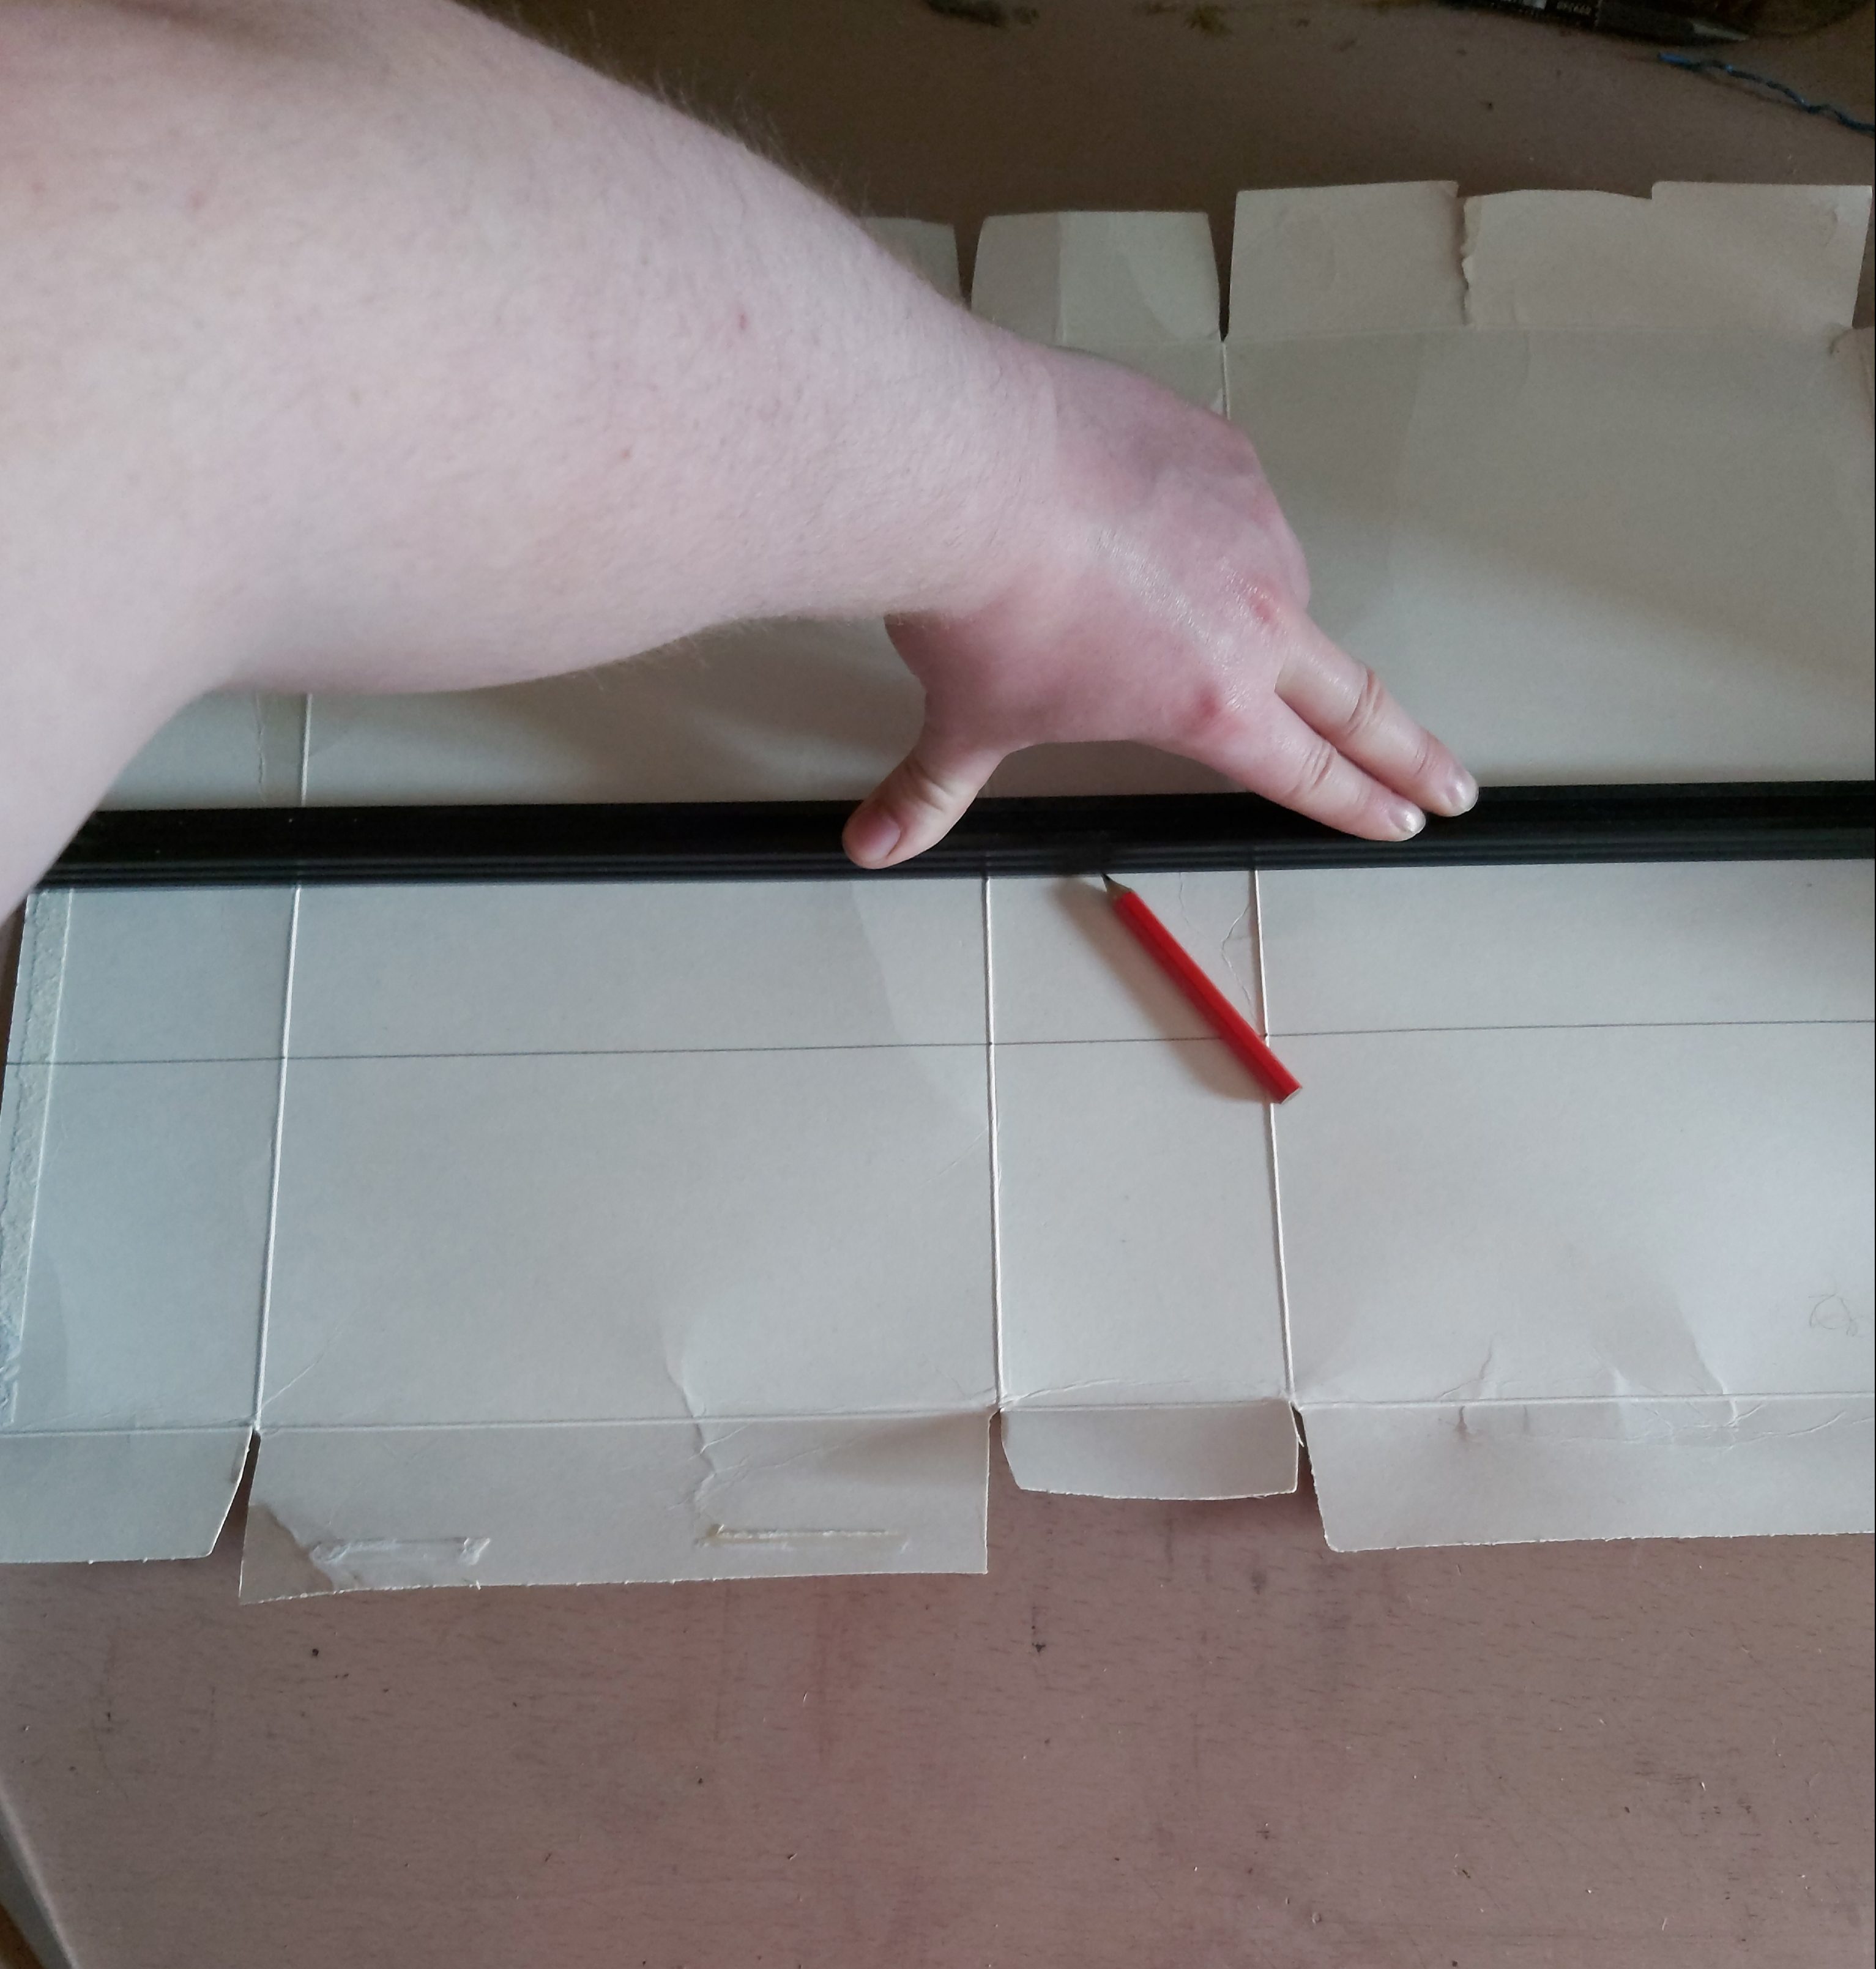
4. Carefully cut along your top line (the bottom is a fold line)
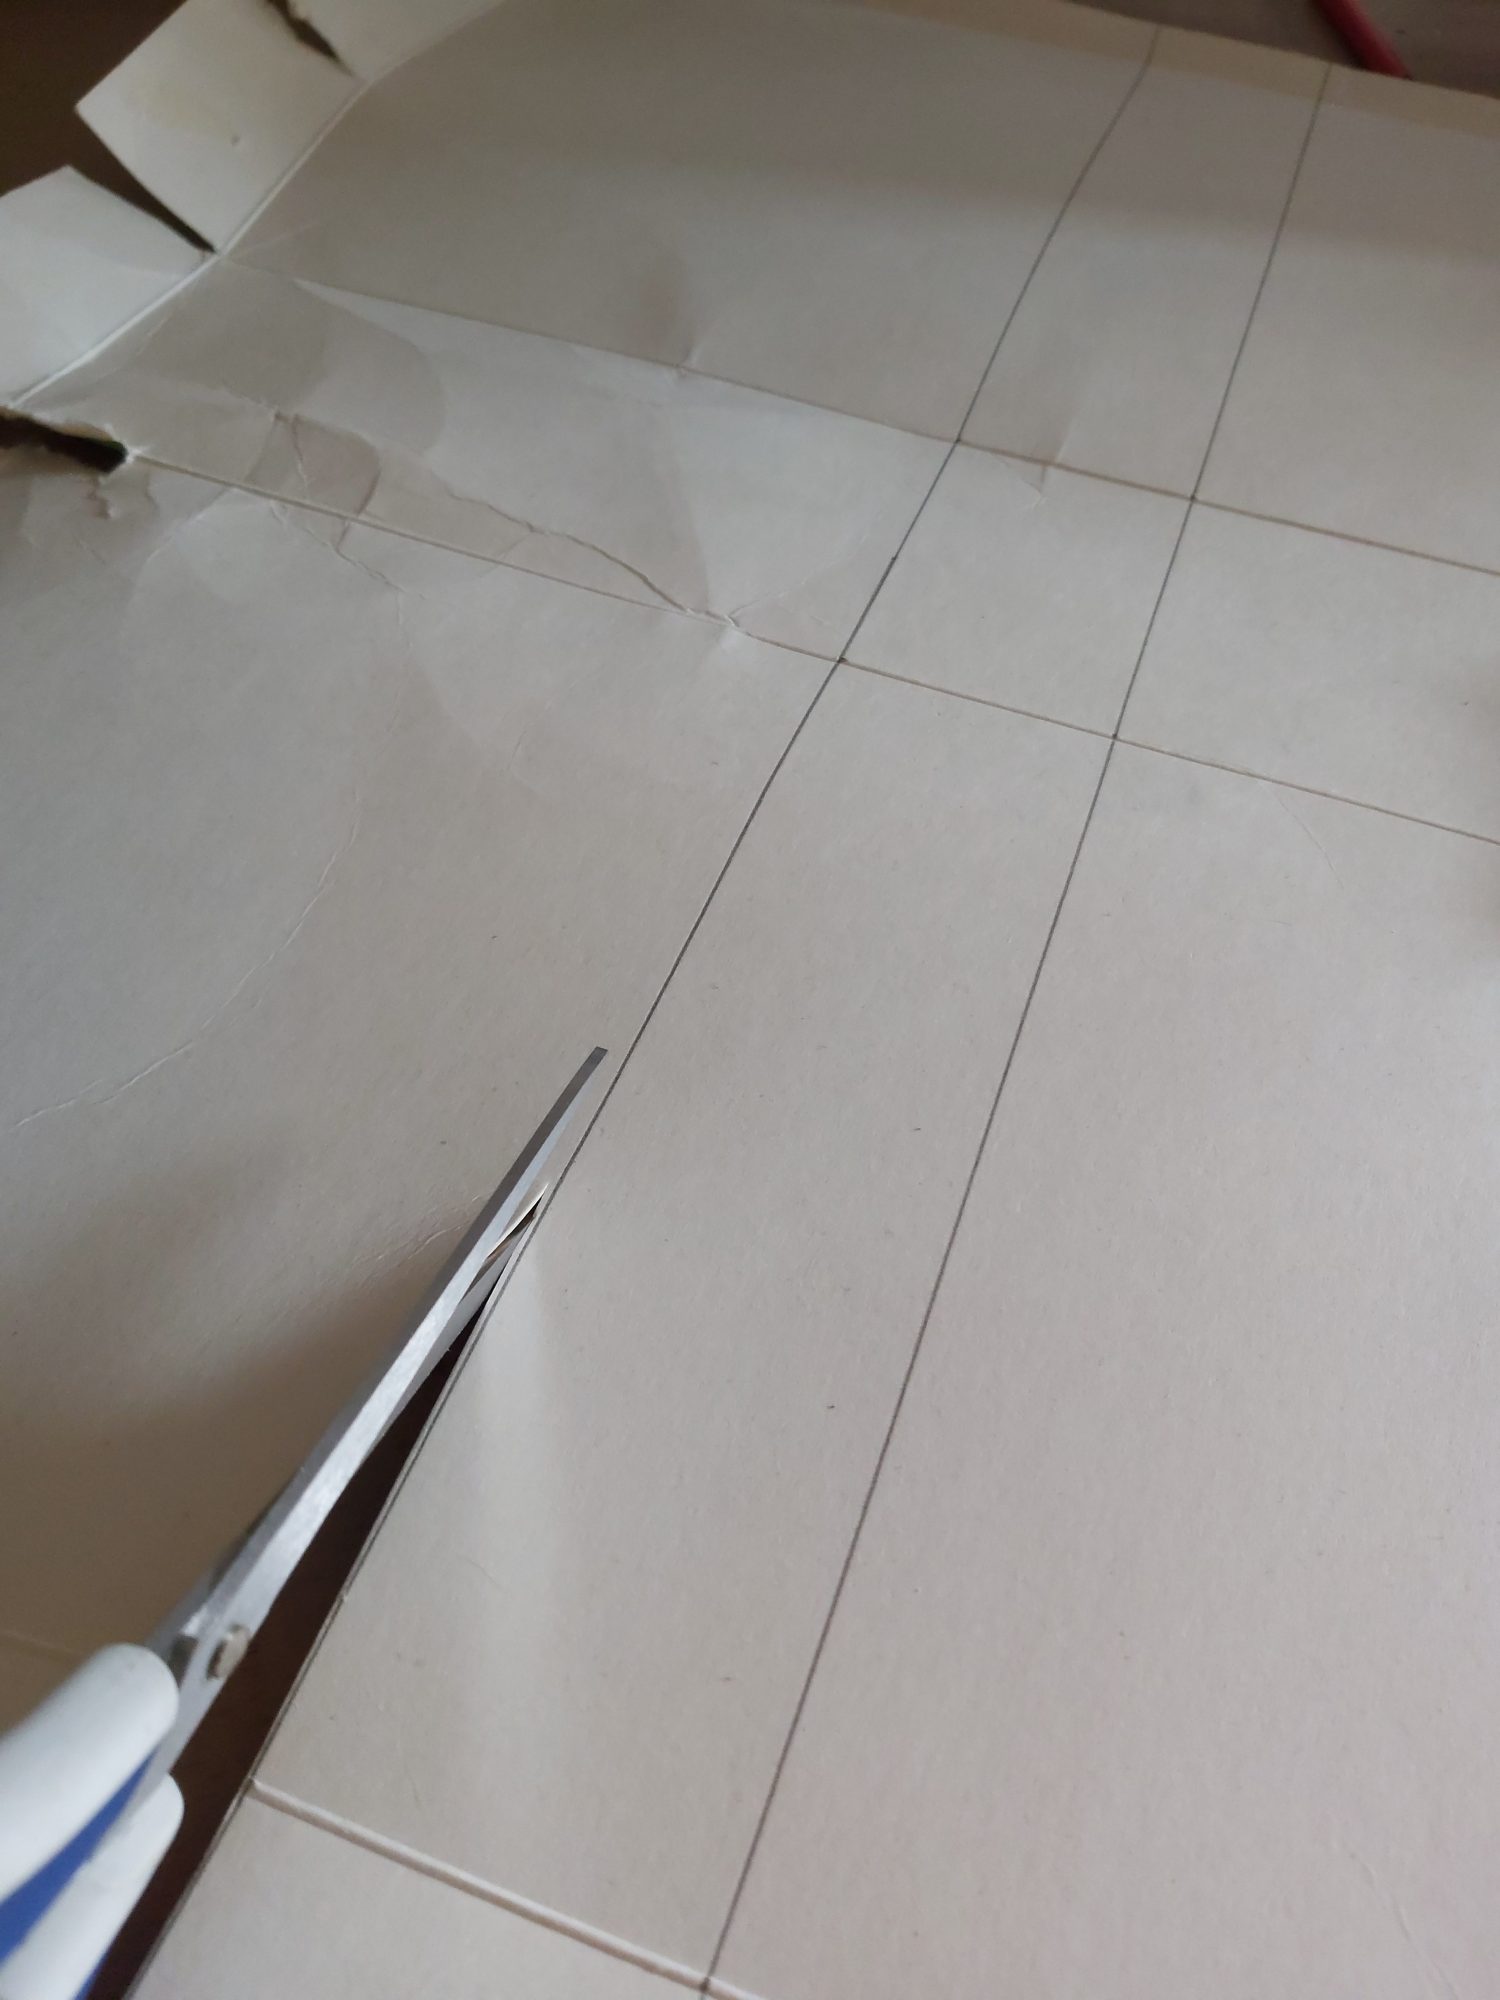
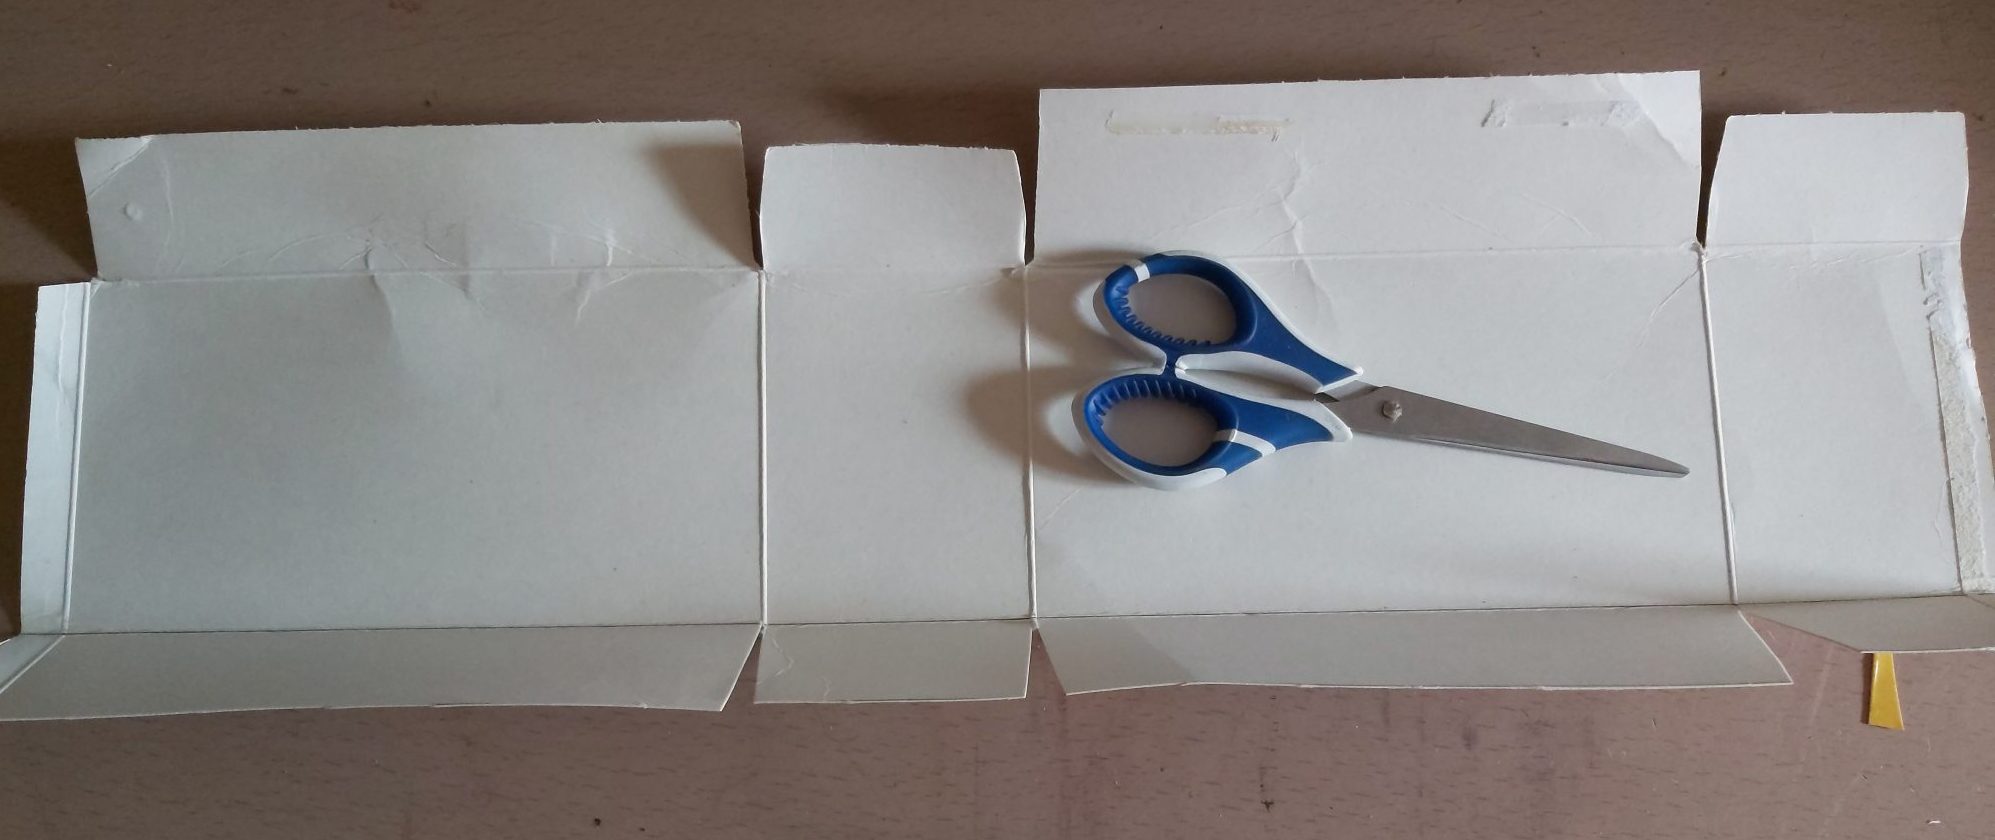
5. Copy the position of the flaps and, once they’re cut, bend them along the line, this will help later
6. Take your tubes for the legs and trace around them. Leave space for the neck, don’t worry if you can’t leave any space between the legs
7. Cut them out being careful of any thin sections. You might pierce one point with a pencil to help with the cutting
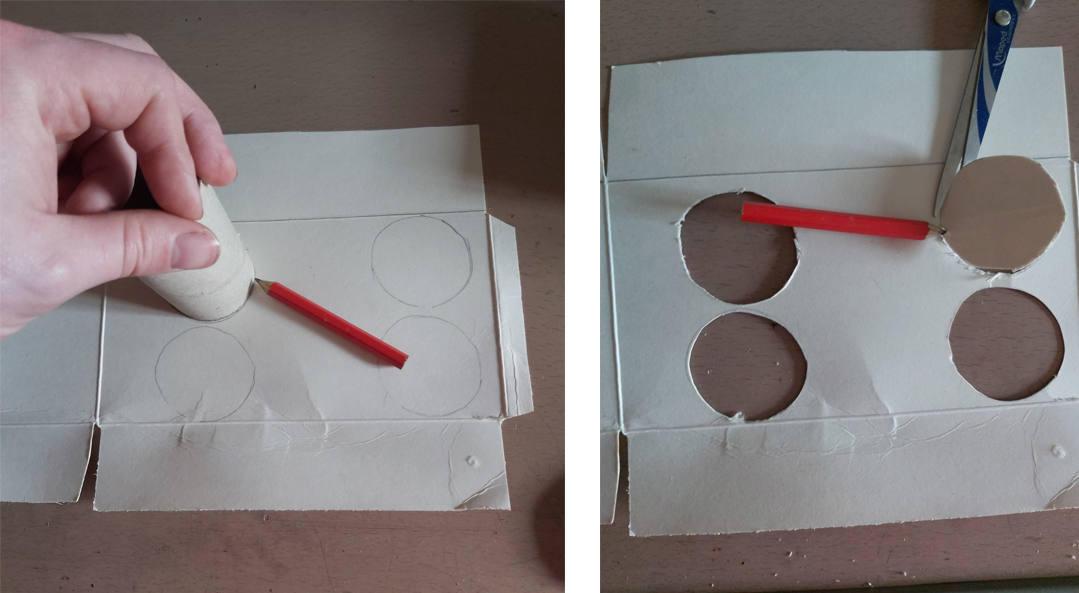
8. Cut slightly into the top of the legs (this is so you can tape later)
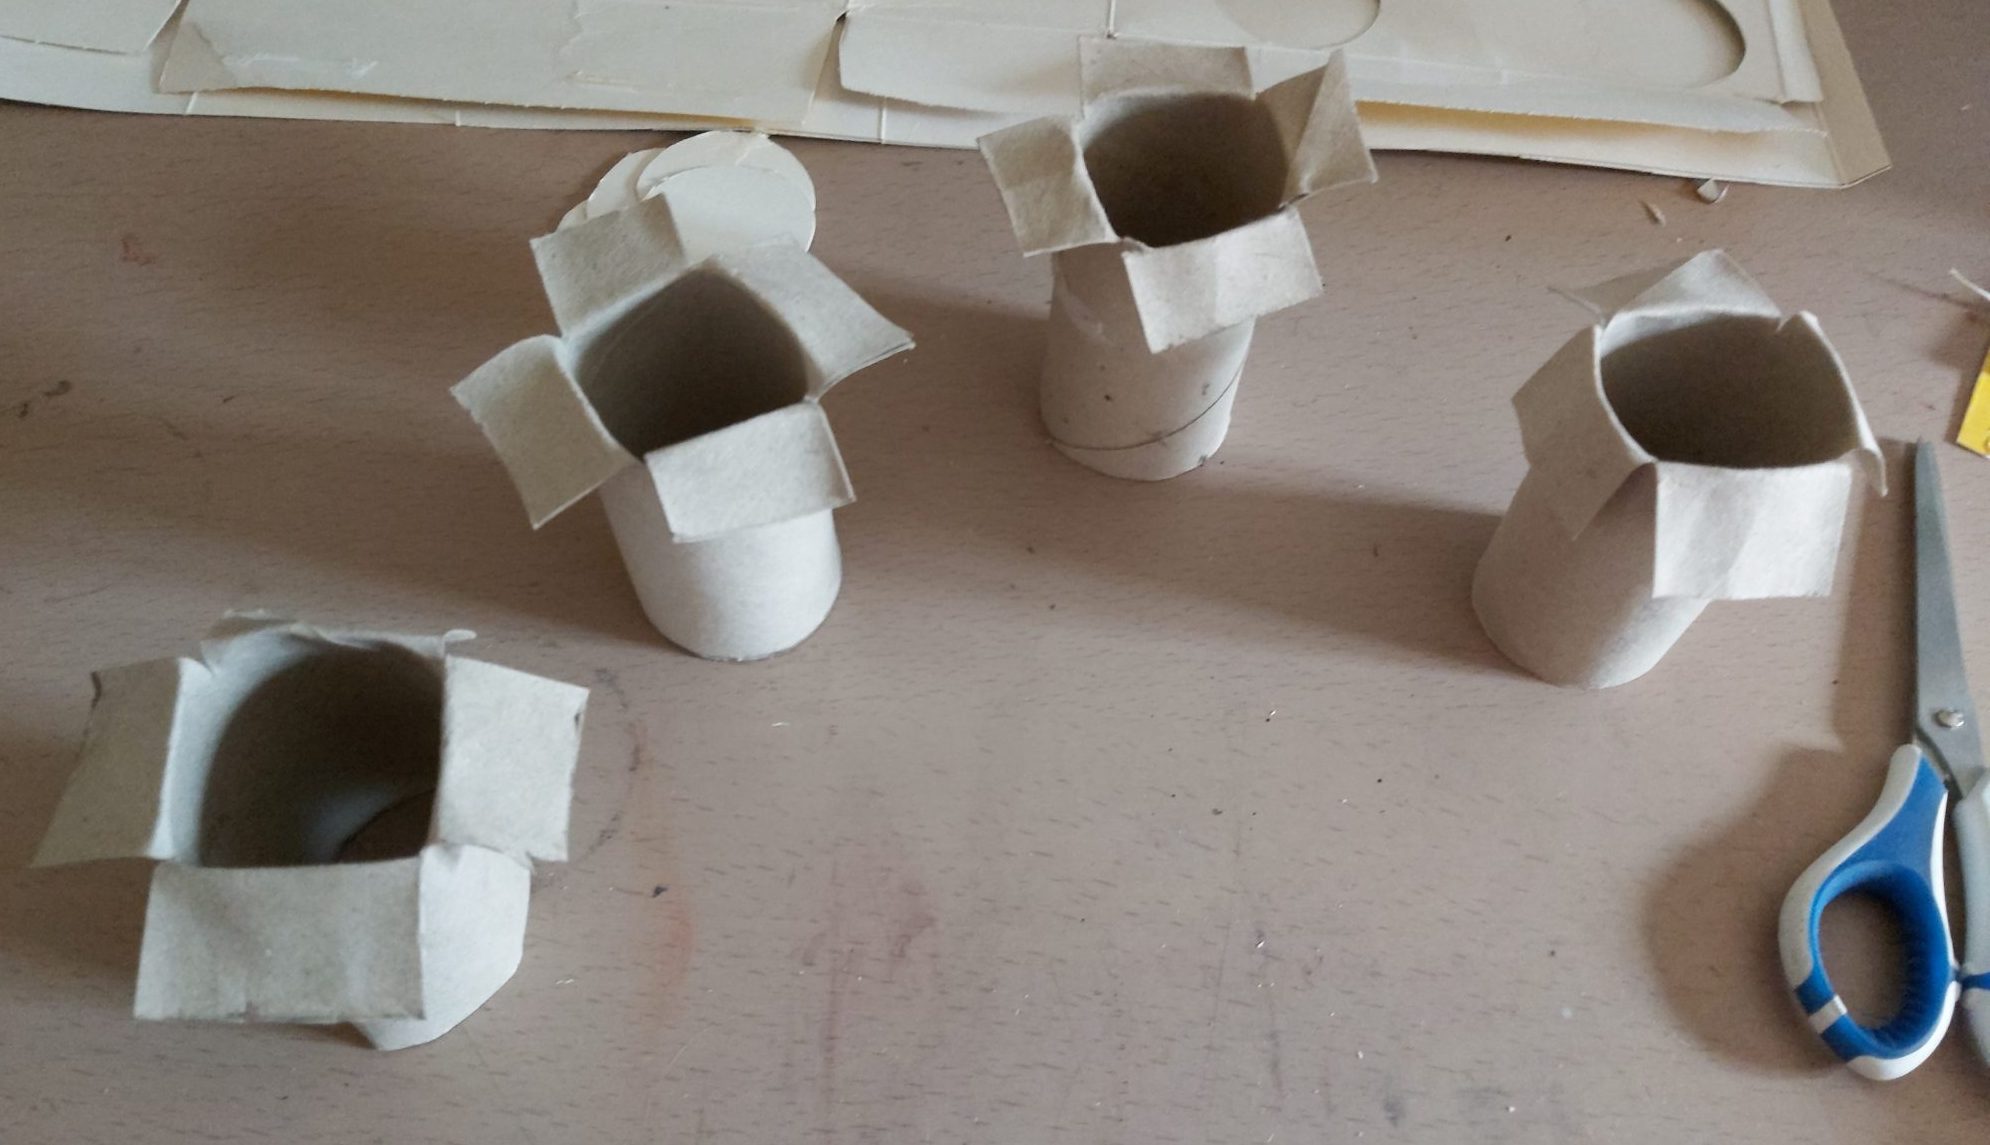
9. The tube for the neck needs cutting on both ends, so you can attach to both the head and body
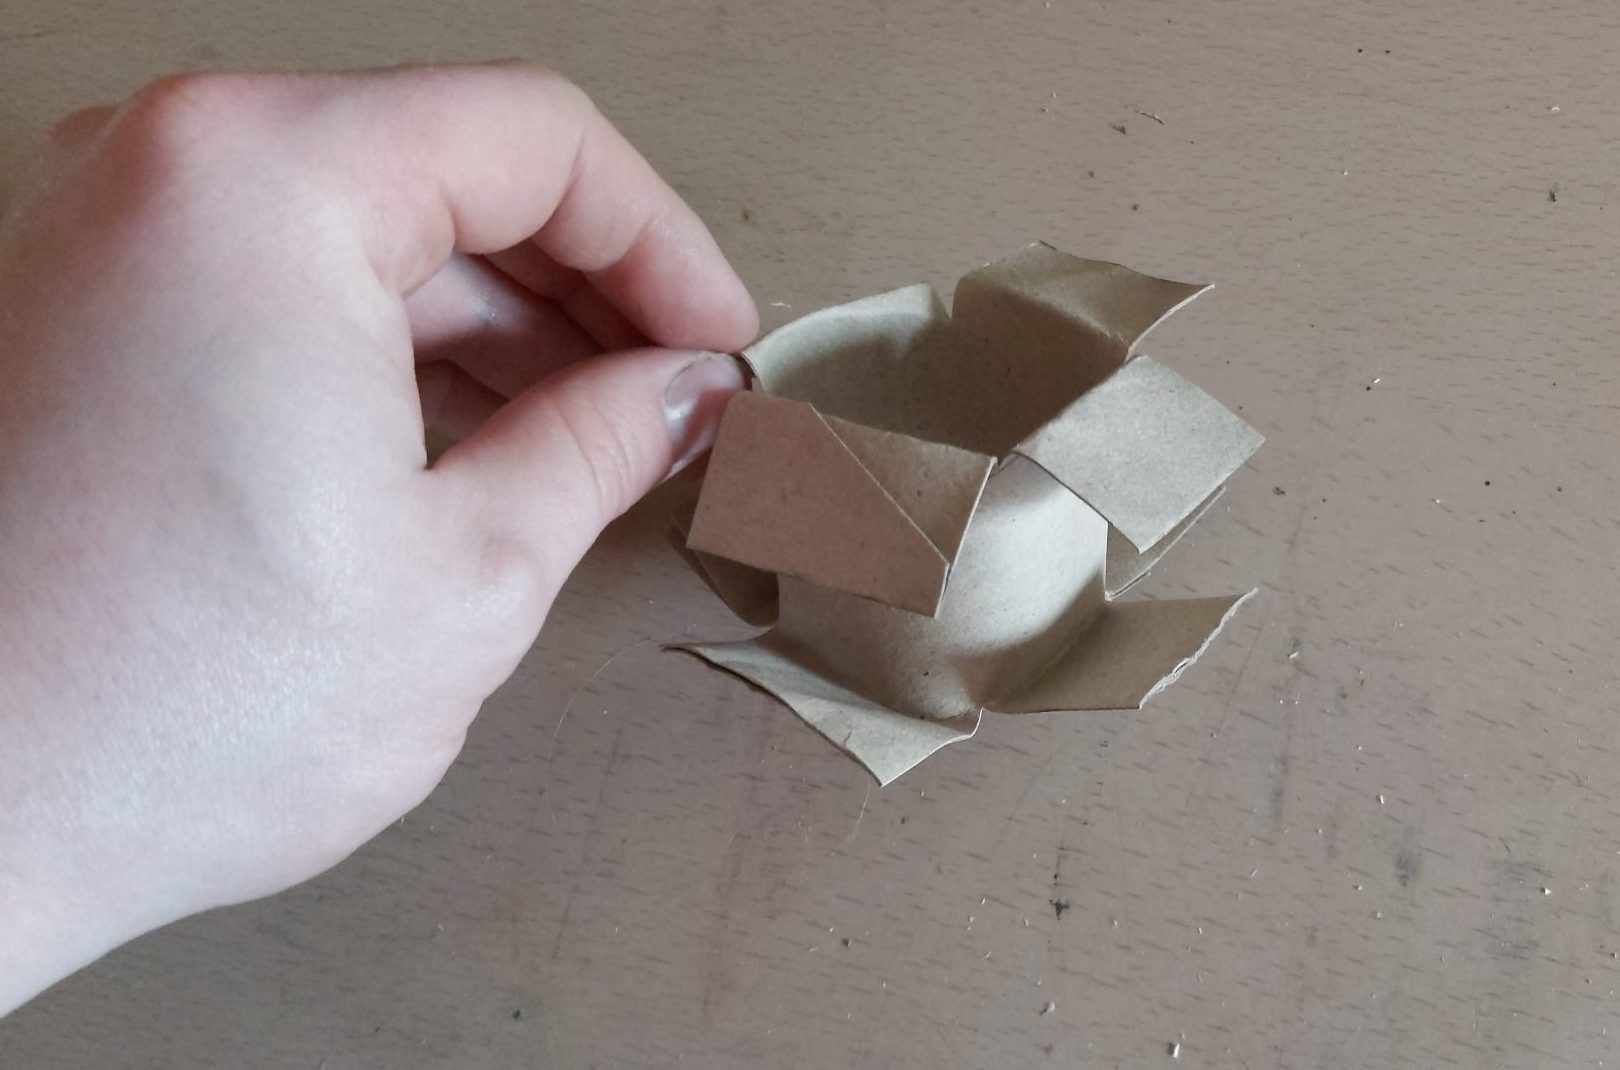
10. Repeat steps two – five to make the head but make this thinner than the body
11. Mark and cut the neck hole so it matches with the one on the body
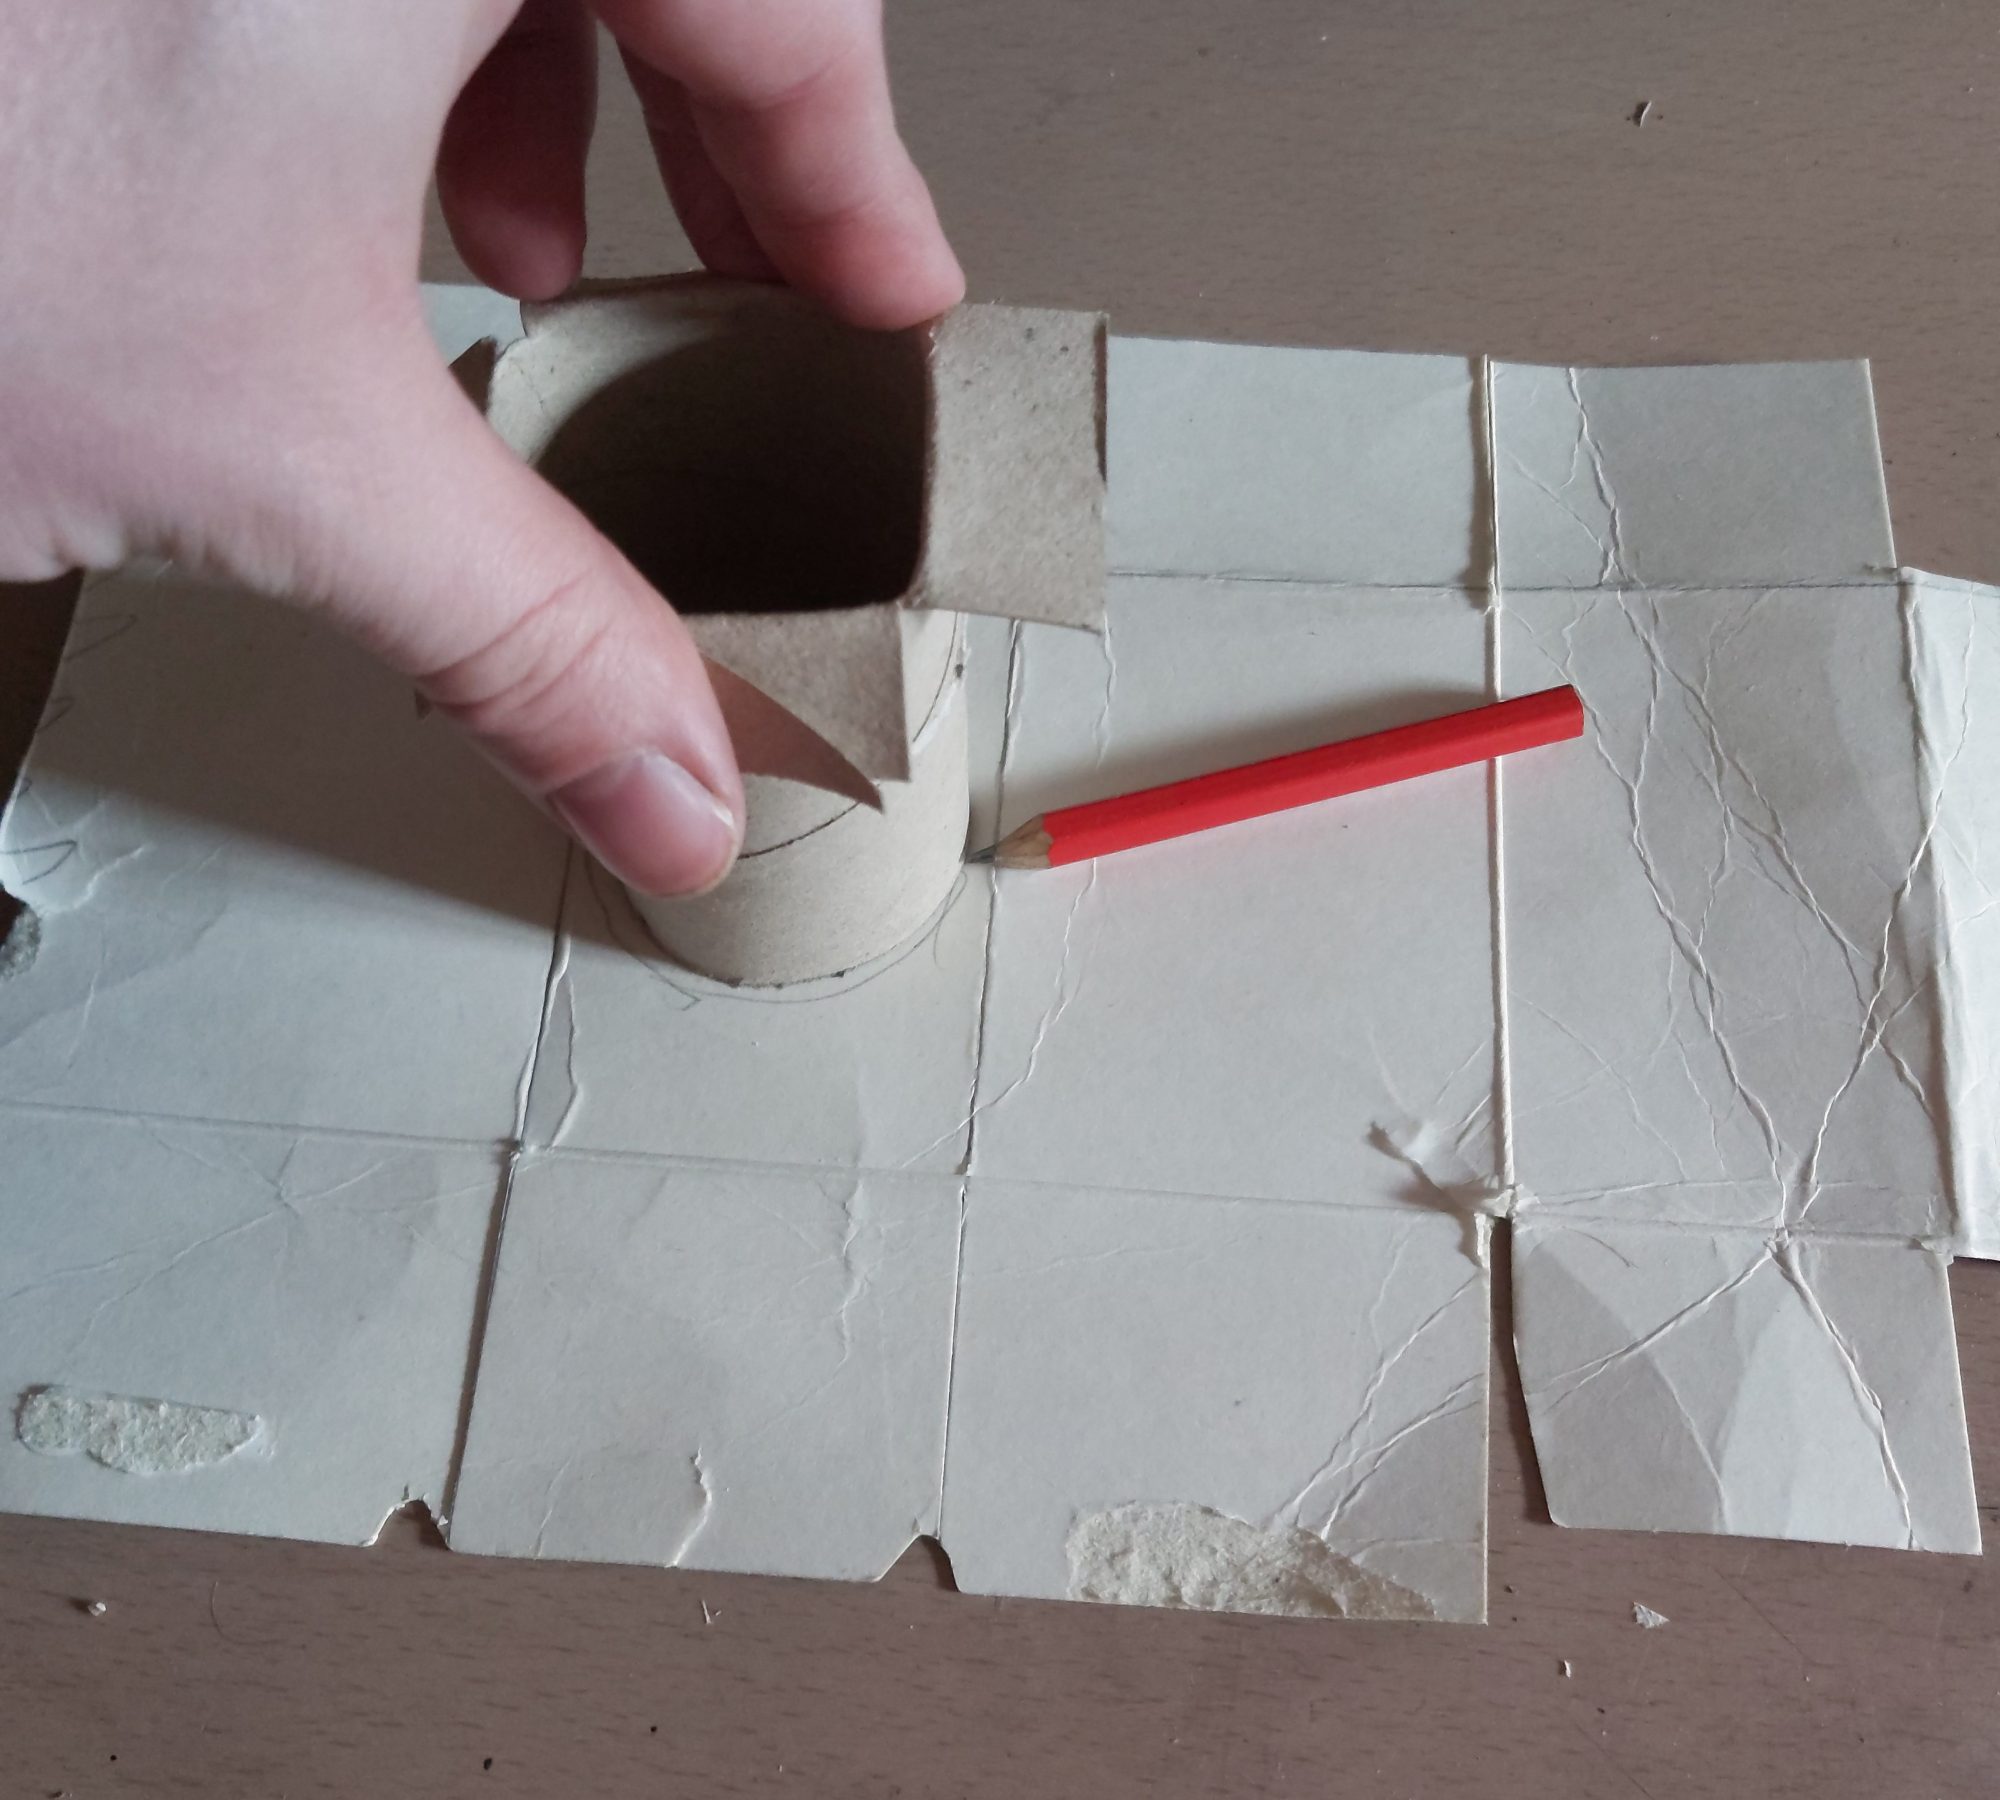
12. Push the neck through the hole and fold down the flaps, adding tape to each flap
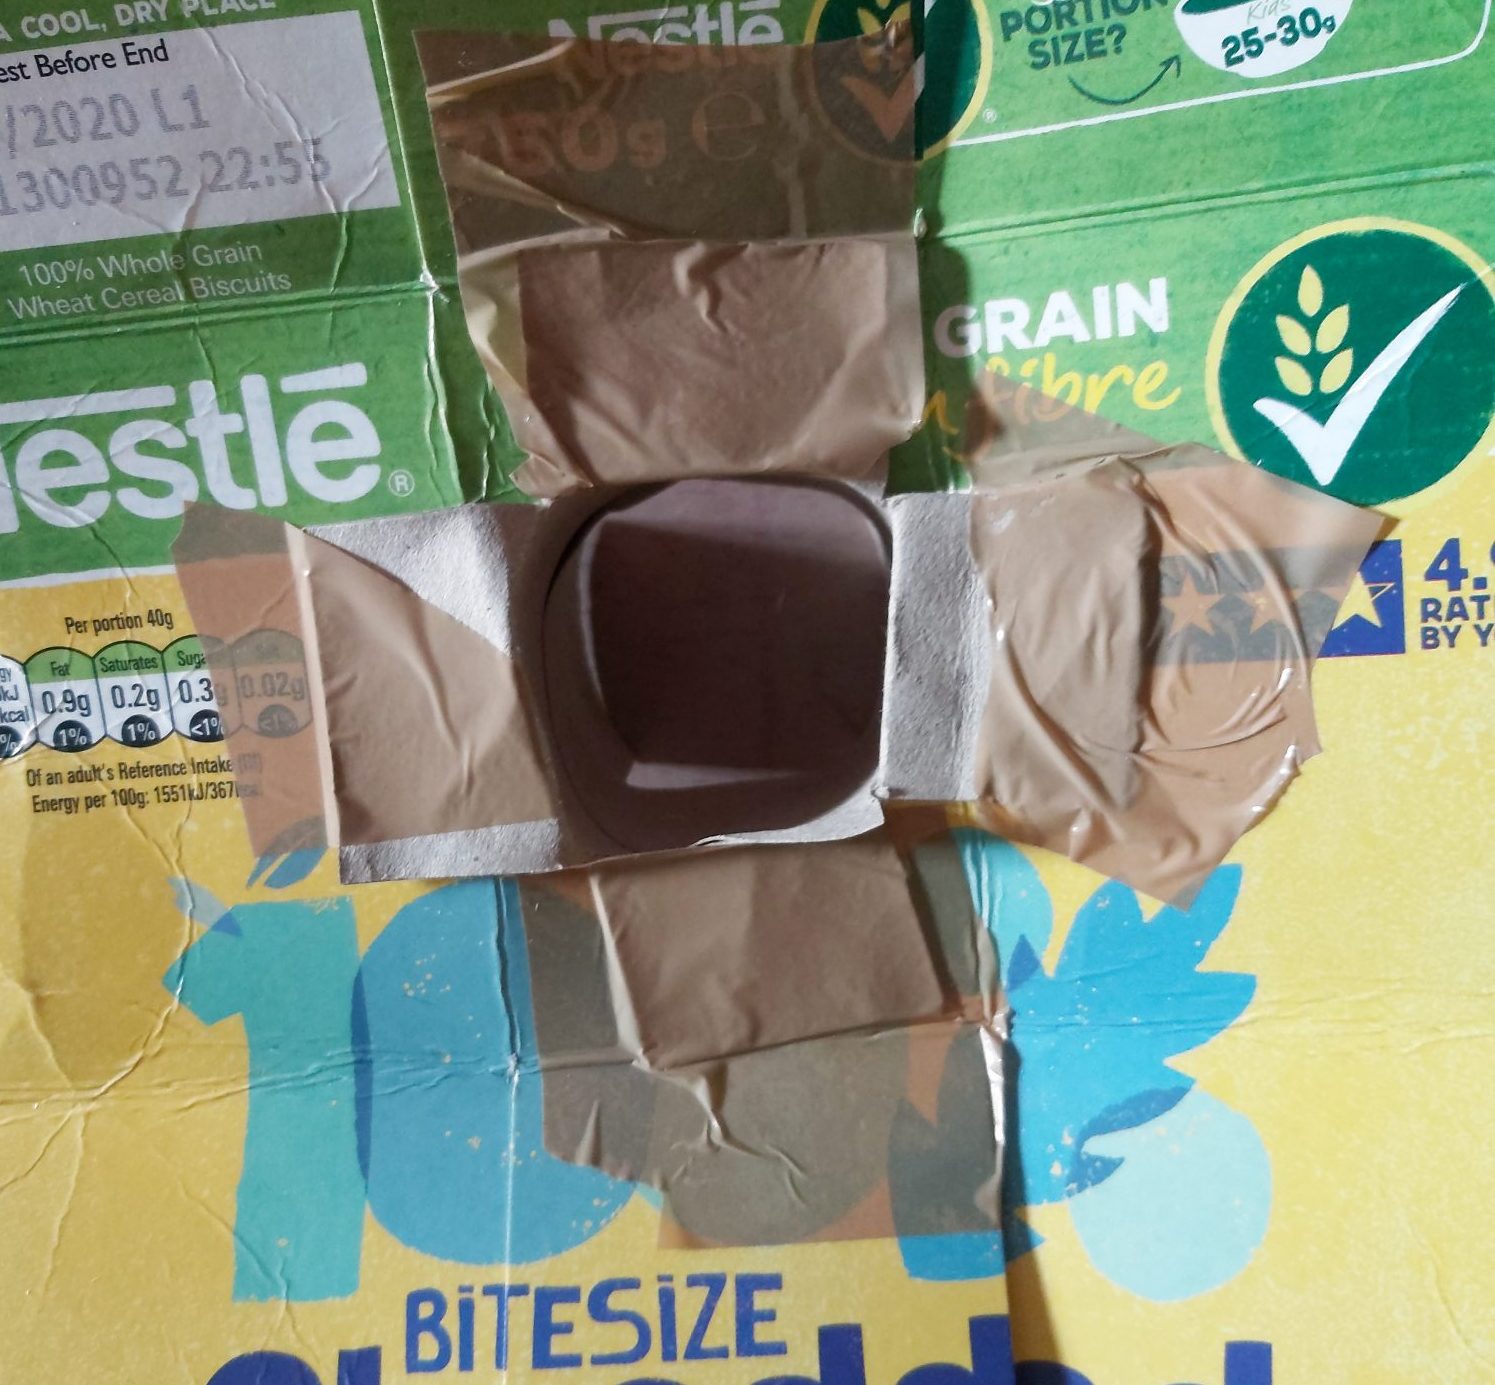
13. Fold the flaps on the head to make a box and tape them down. Make sure the brown side is the outside, this helps when drawing on it later
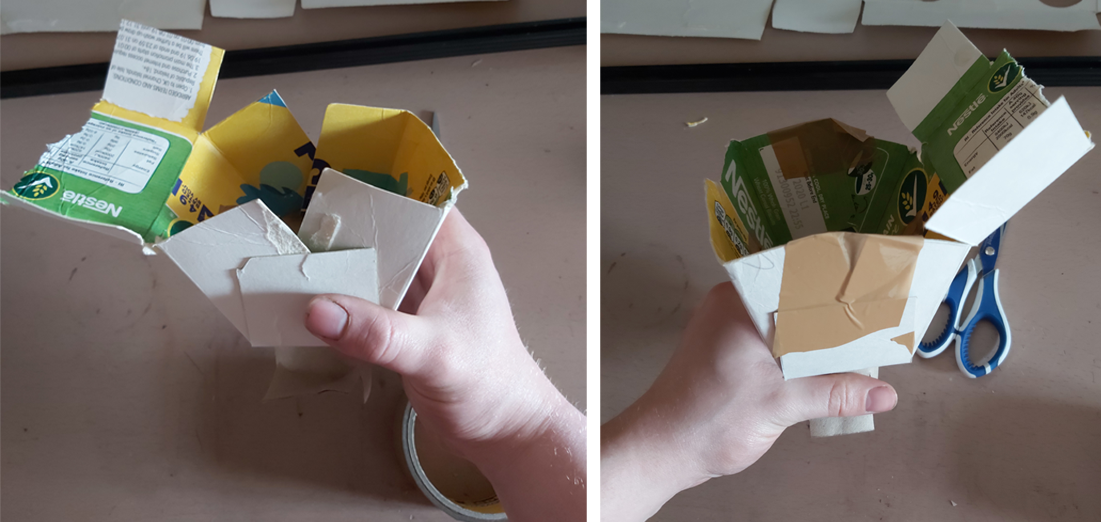
14. For the last flap, put tape halfway this will go on the inside, this step is a little fiddly
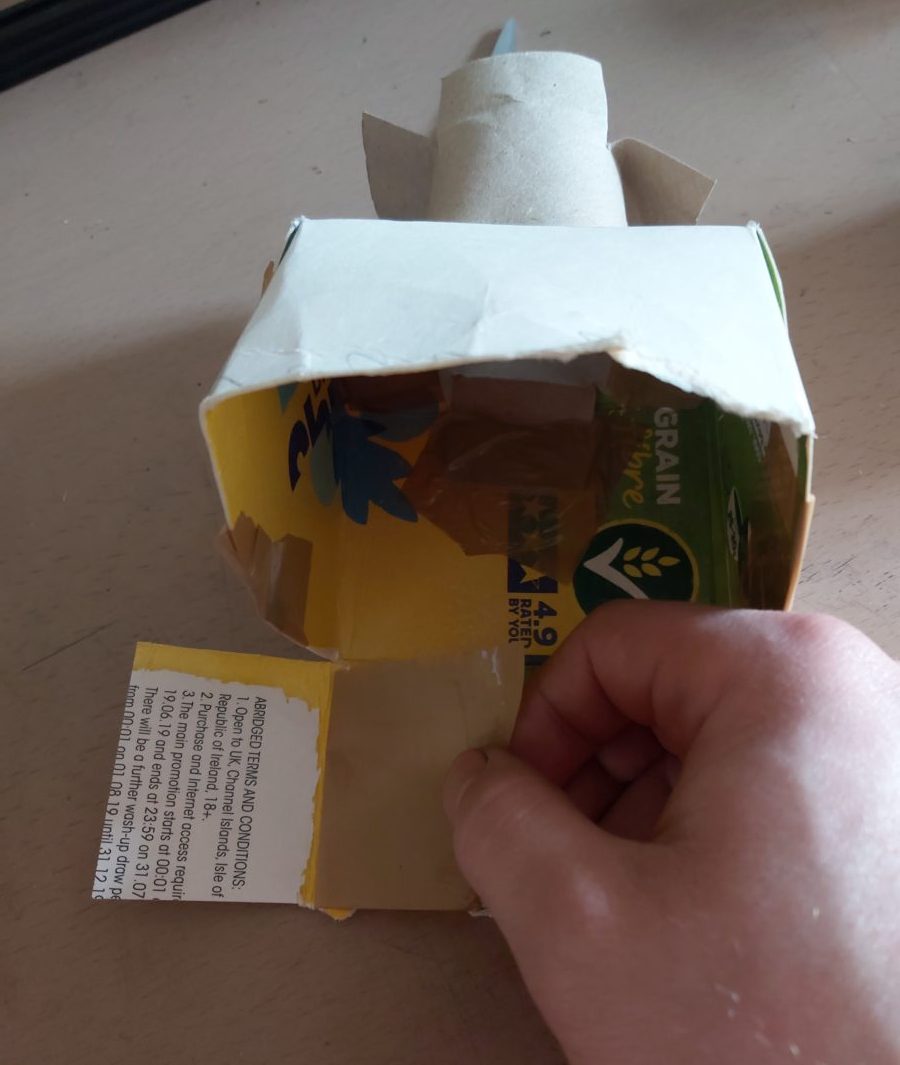
15. Push the legs through the leg holes leaving one flap up (this will angle the legs when taped)
16. Fold down the rest of the leg flaps and tape them, it doesn’t matter if the holes get covered over
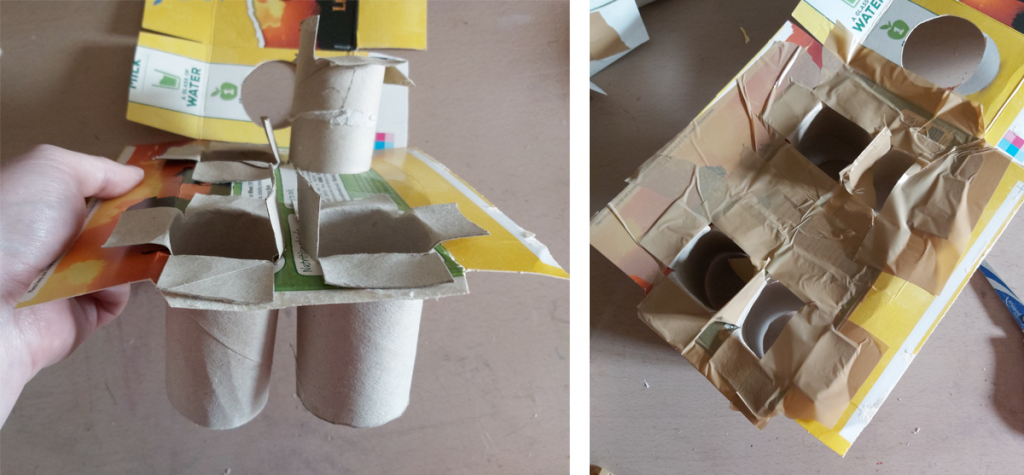
17. Repeat last step with the head and neck this can be fiddly, you might need an extra pair of hands to help you
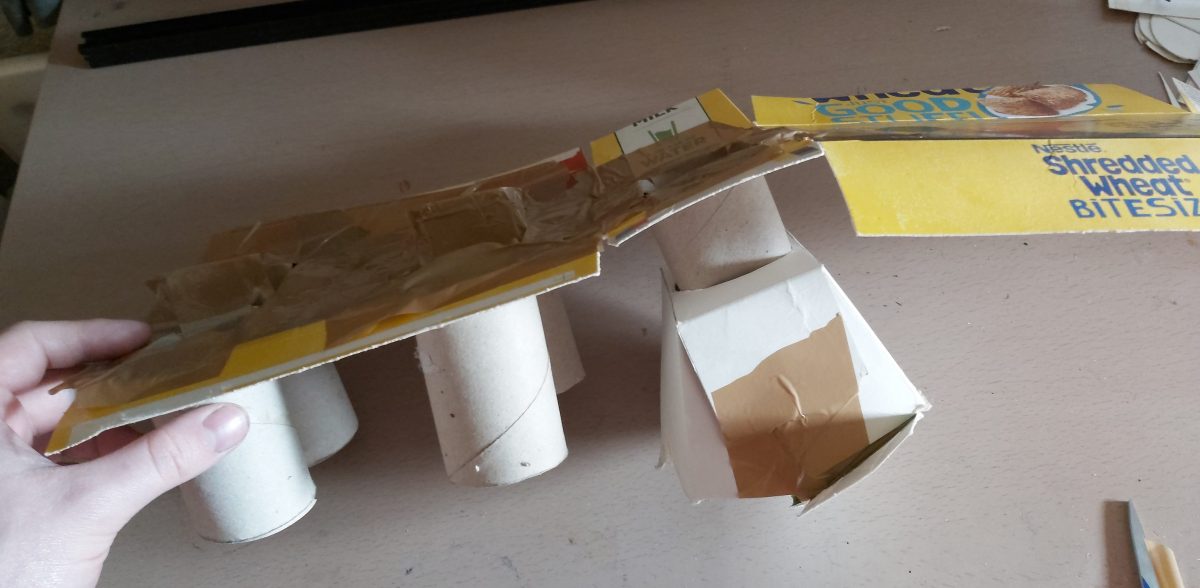
18. Carefully tape the body box together
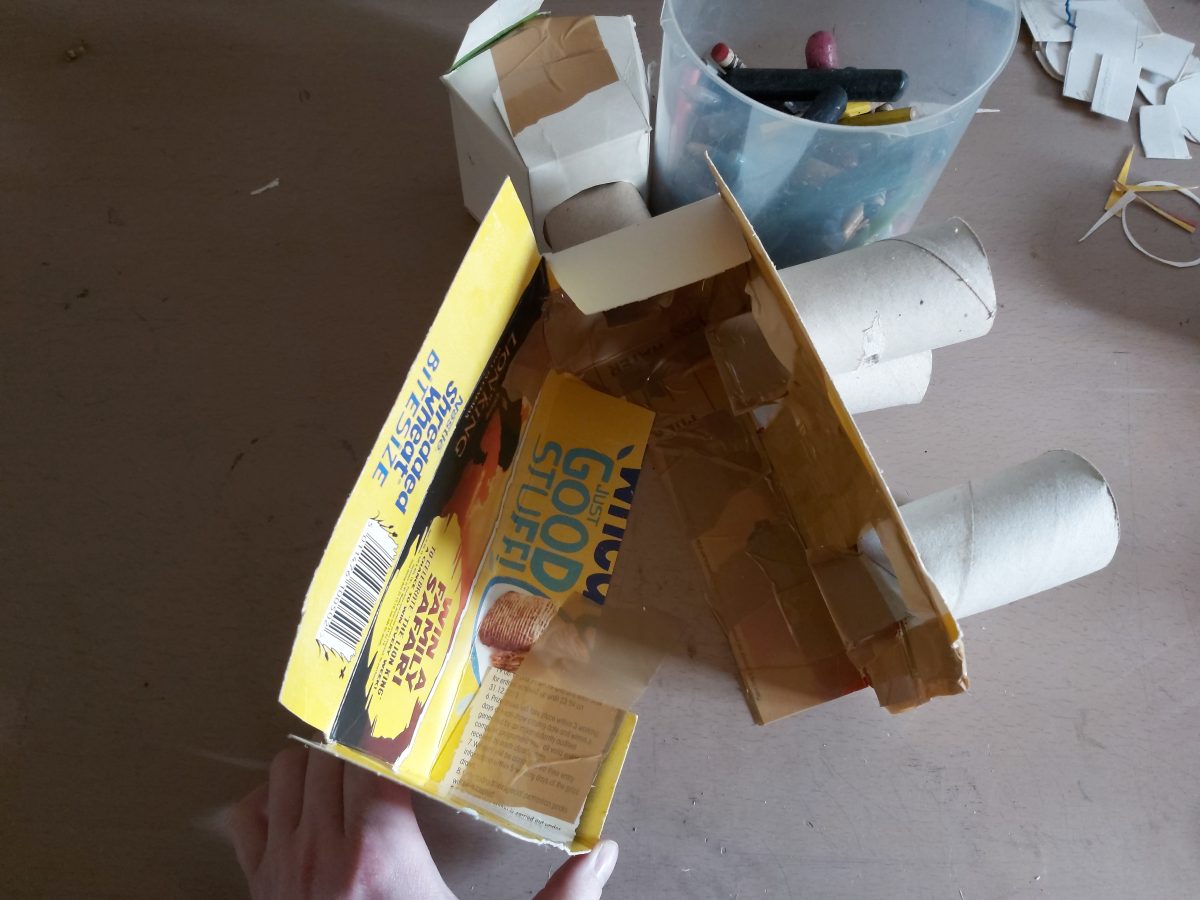
19. Put tape on the outside of the body to seal any holes
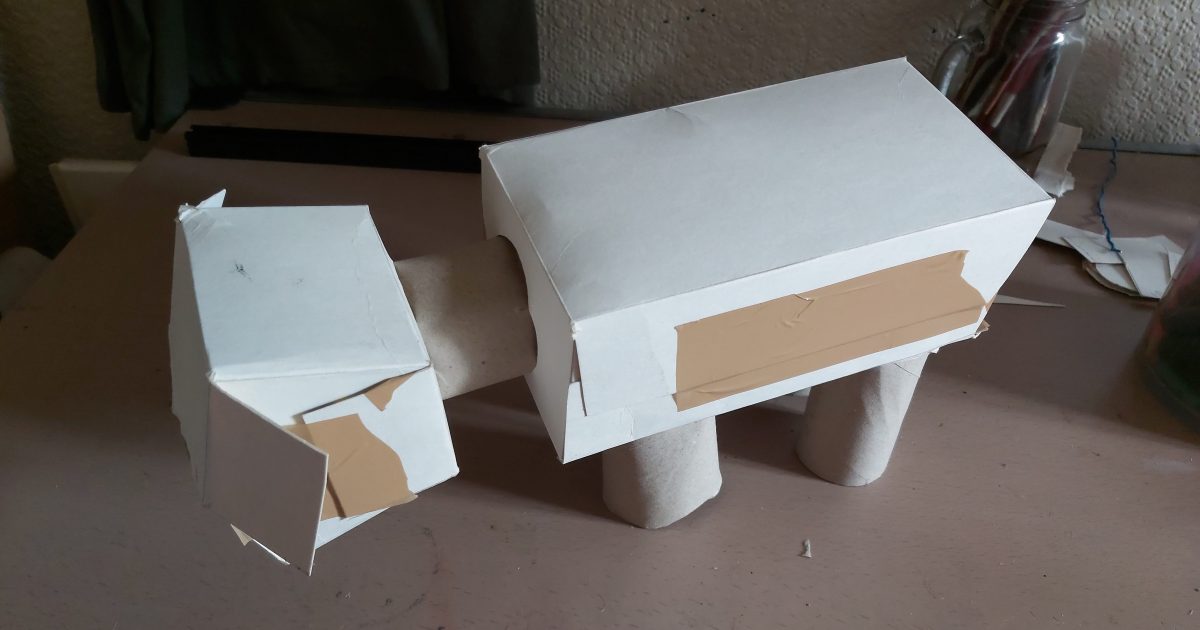
20. Using any scraps, begin to personalise your four-legged thing using scissors to make spiky bits
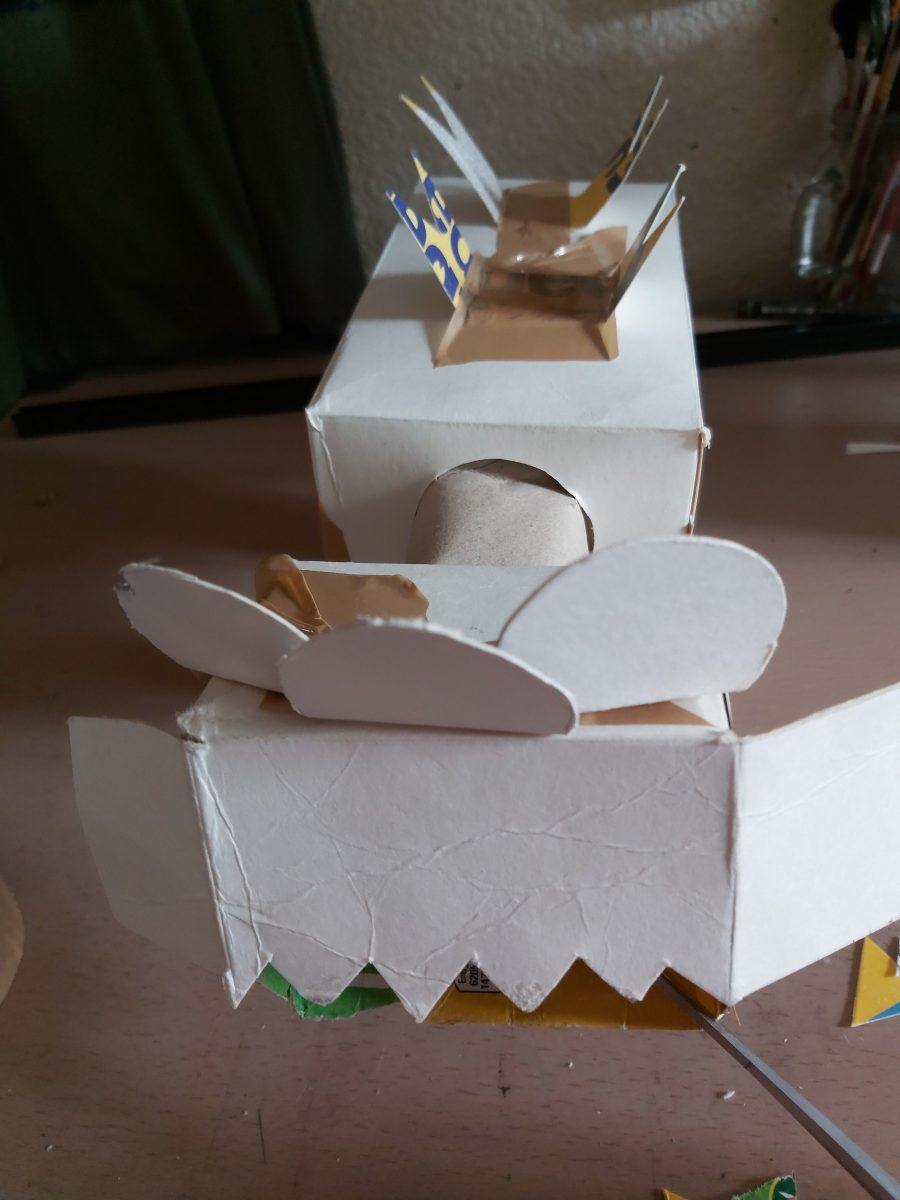
21. Using pencils or crayons, colour in your four-legged thing (it doesn’t matter if there are parts you can’t reach)
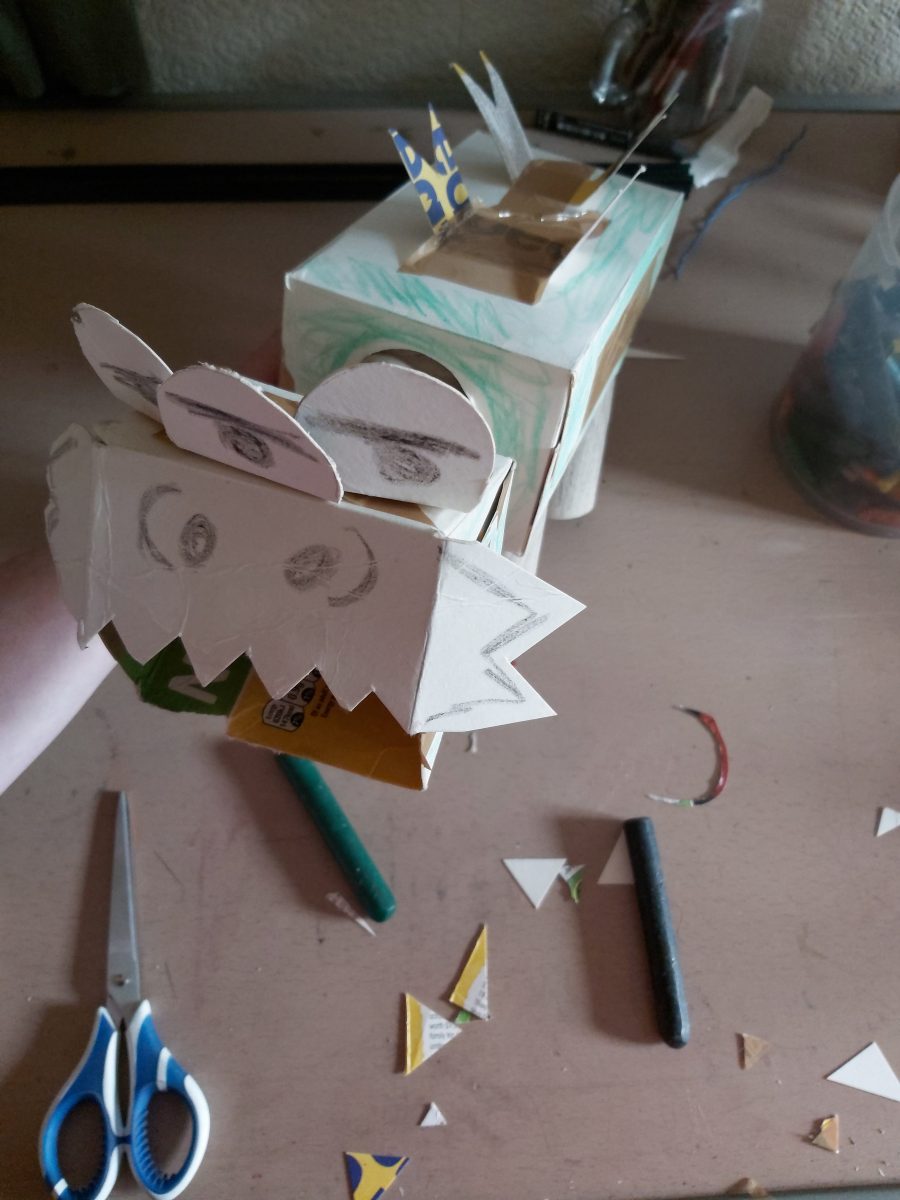
Further Development
Now that your four-legged thing is complete, try making more but using different boxes, materials. Or you could race someone else to see who can build the fastest.
How big can you make a 4 legged thing?? And how small?
Thank you for taking part in the University of Central Lancashire Saturday Club Workshop.
Share your creations or post online and tag @natsatclub
Resources and References
Contributed by Jack Woodward, University of Central Lancashire Art&Design Saturday Club