by Rosemary MacLennan
Making paints out of food!
Don’t forget to submit your creations or post online and tag @natsatclub and @ntusat_artclub
Overview
Throughout history, from Prehistoric cave paintings to Renaissance artists (who would mix ground pigments with egg yolk or white to create different types of paint such as tempera and glair), natural materials have been used to create images.
More recently, artists have used natural materials to create paint. Yelena Popova, uses soil and wood ash.
Using food means that you can experiment with materials that you have at home!
Materials needed
- Paper- whatever you have to hand, watercolour and thicker cartridge work well but you might try printer paper, graph paper and old packaging
- Brushes – thinner ones if possible. If you haven’t got brushes, think about other things that you can use to make marks, for instance sticks, cocktail sticks and biros
- Food! Whatever you have in the cupboard. In the tutorial, I have used; tea bags, onion skins, ground coffee, blueberries, turmeric, blackberries and paprika. You could also try beetroot, saffron, red cabbage or spinach. You don’t need to use a lot of anything, and you don’t need to make more than two pigments. You might come up with others, too. They need to be watery and the sort of foods that will stain!
- Pencil
- Ruler, or something that you can use to draw a straight line
- Jam jars/mugs of clean water
Activity part one – Creating your pigment
Add a small amount of hot water to any of the foods that you have to create your ‘paint’. You don’t need very much water and you don’t need very much of the food.
You are aiming to get as much colour from the food without too much water, so when using tea, try two tea bags and just cover them with water- you aren’t making a cup of tea! Below are examples of the quantities that I used.


How about onion skins?
To use onion skins, you will need to use the hob to heat the skins in a little bit of water. I used the peel from 1 onion.
Heat them on a medium heat for about 7 minutes. Make sure the water just covers the skins and that you don’t leave the pan as the skins will burn.

Try out the pigments
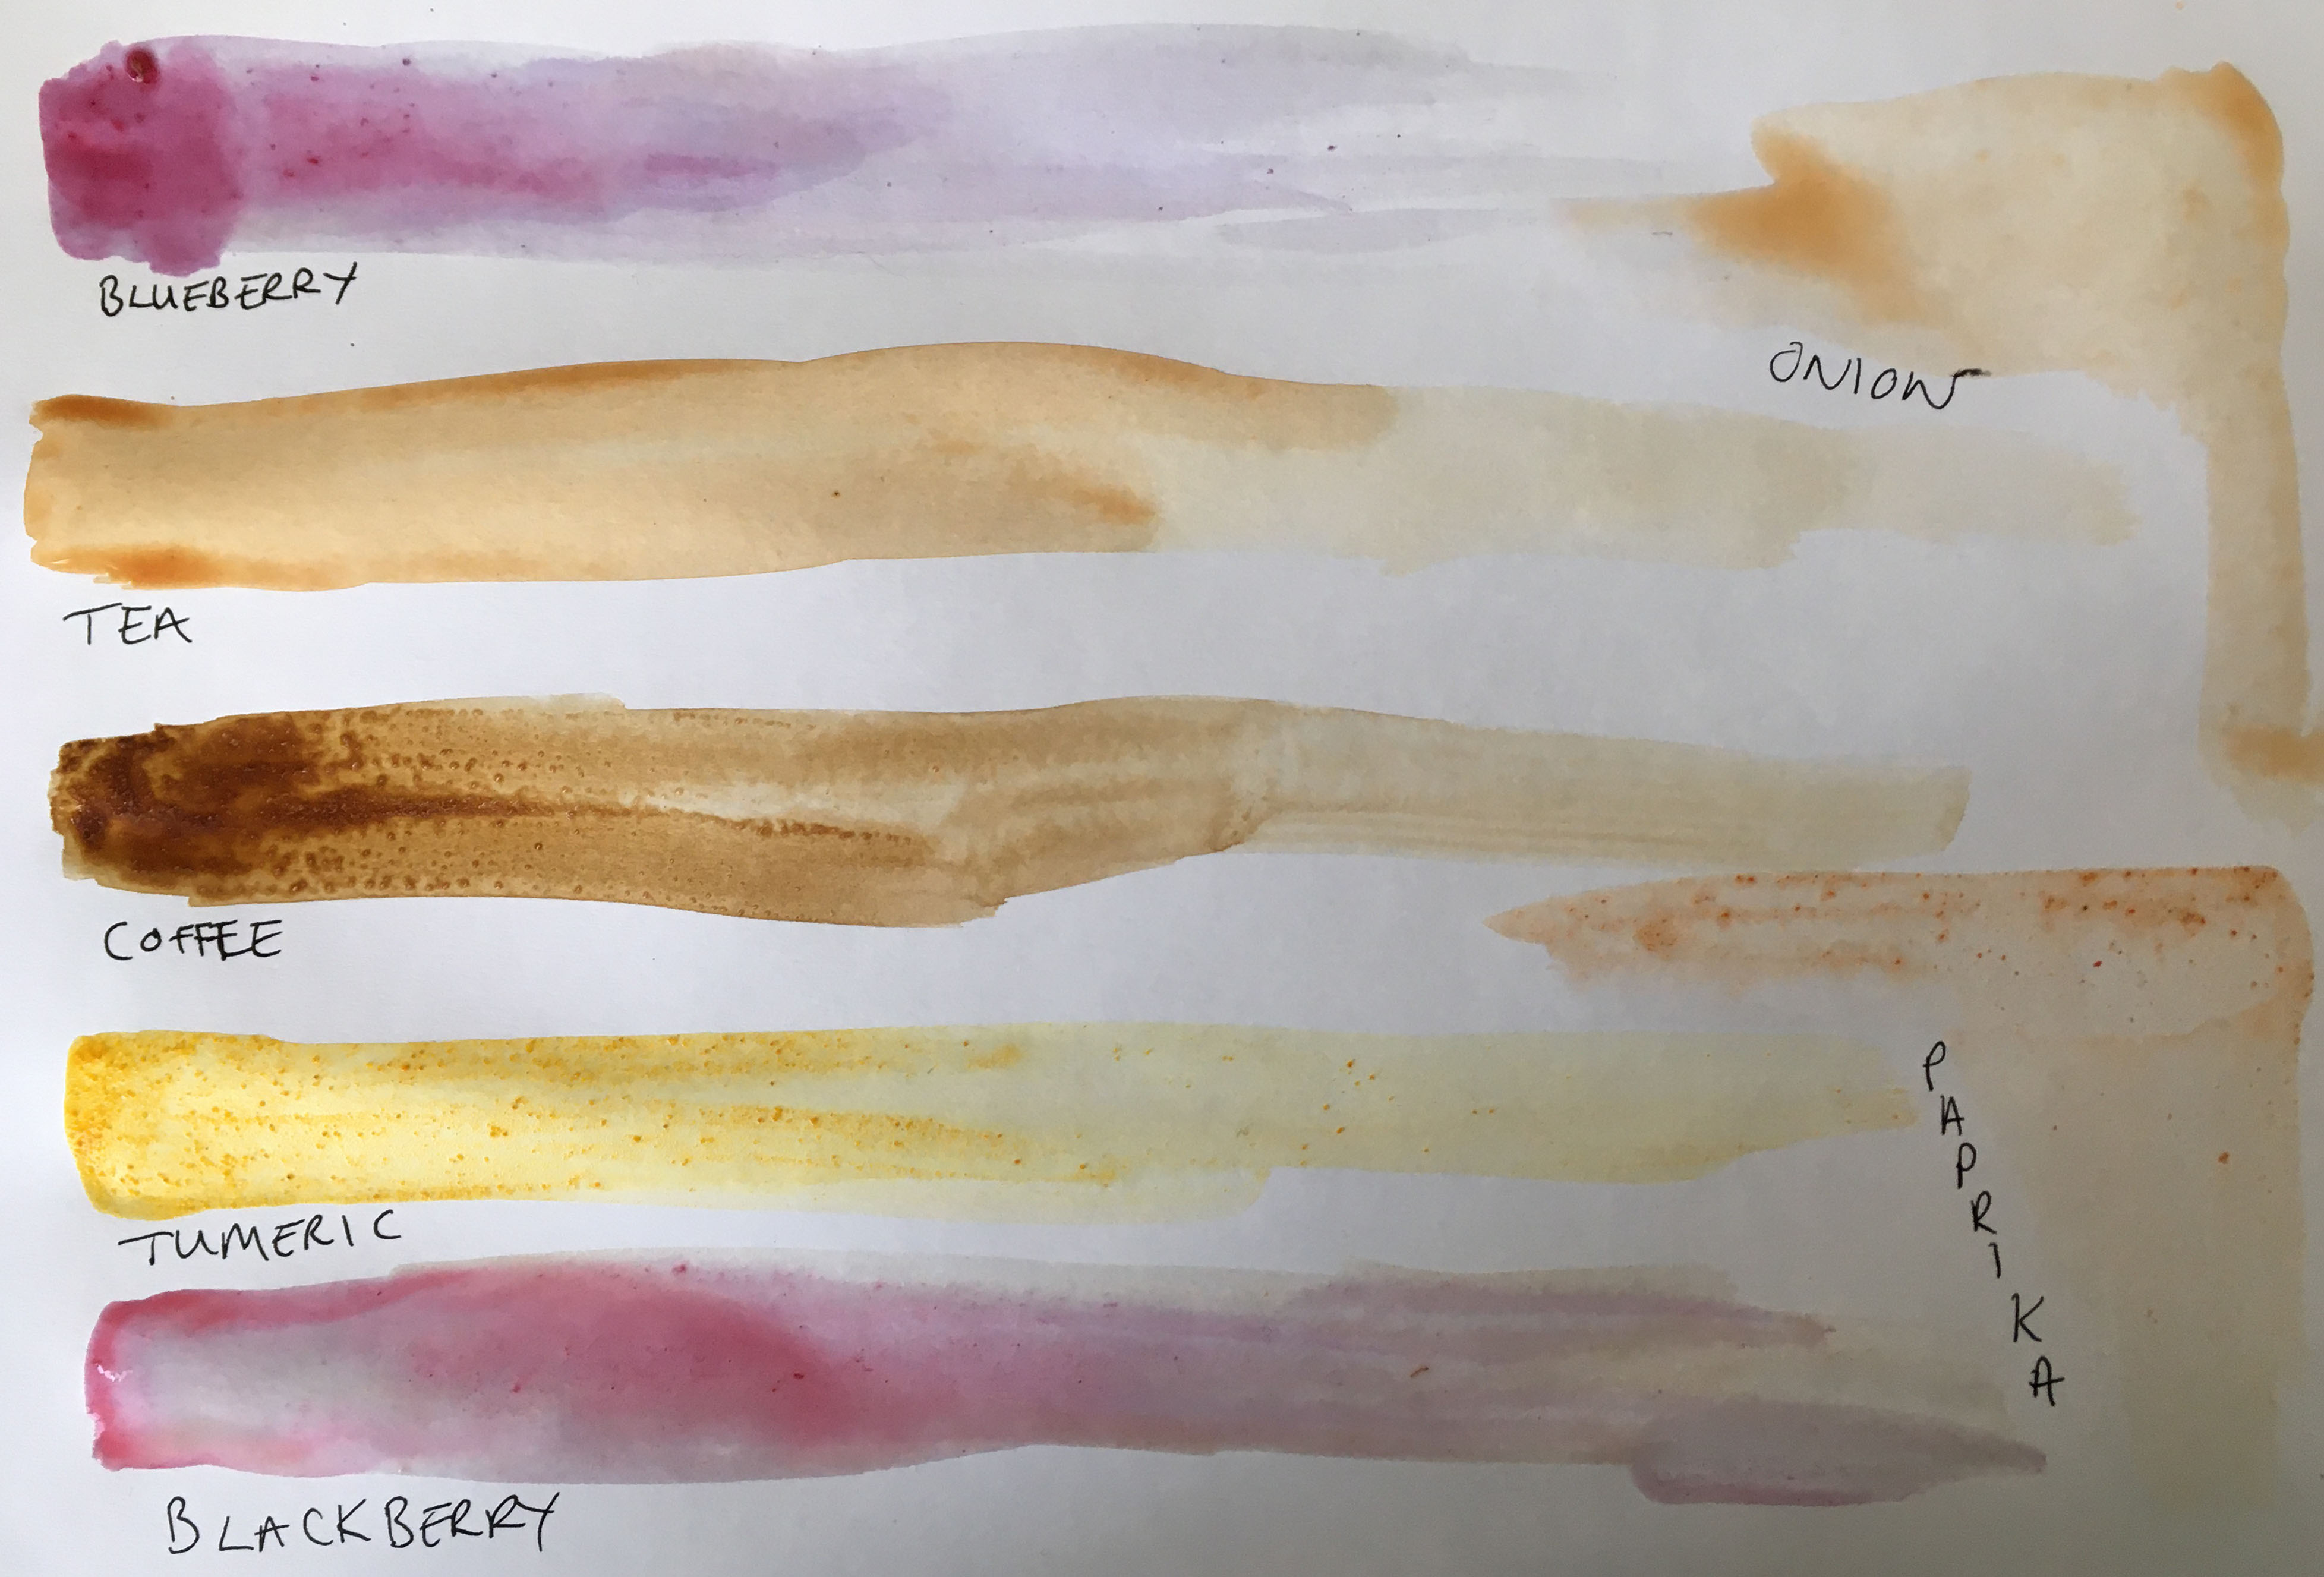
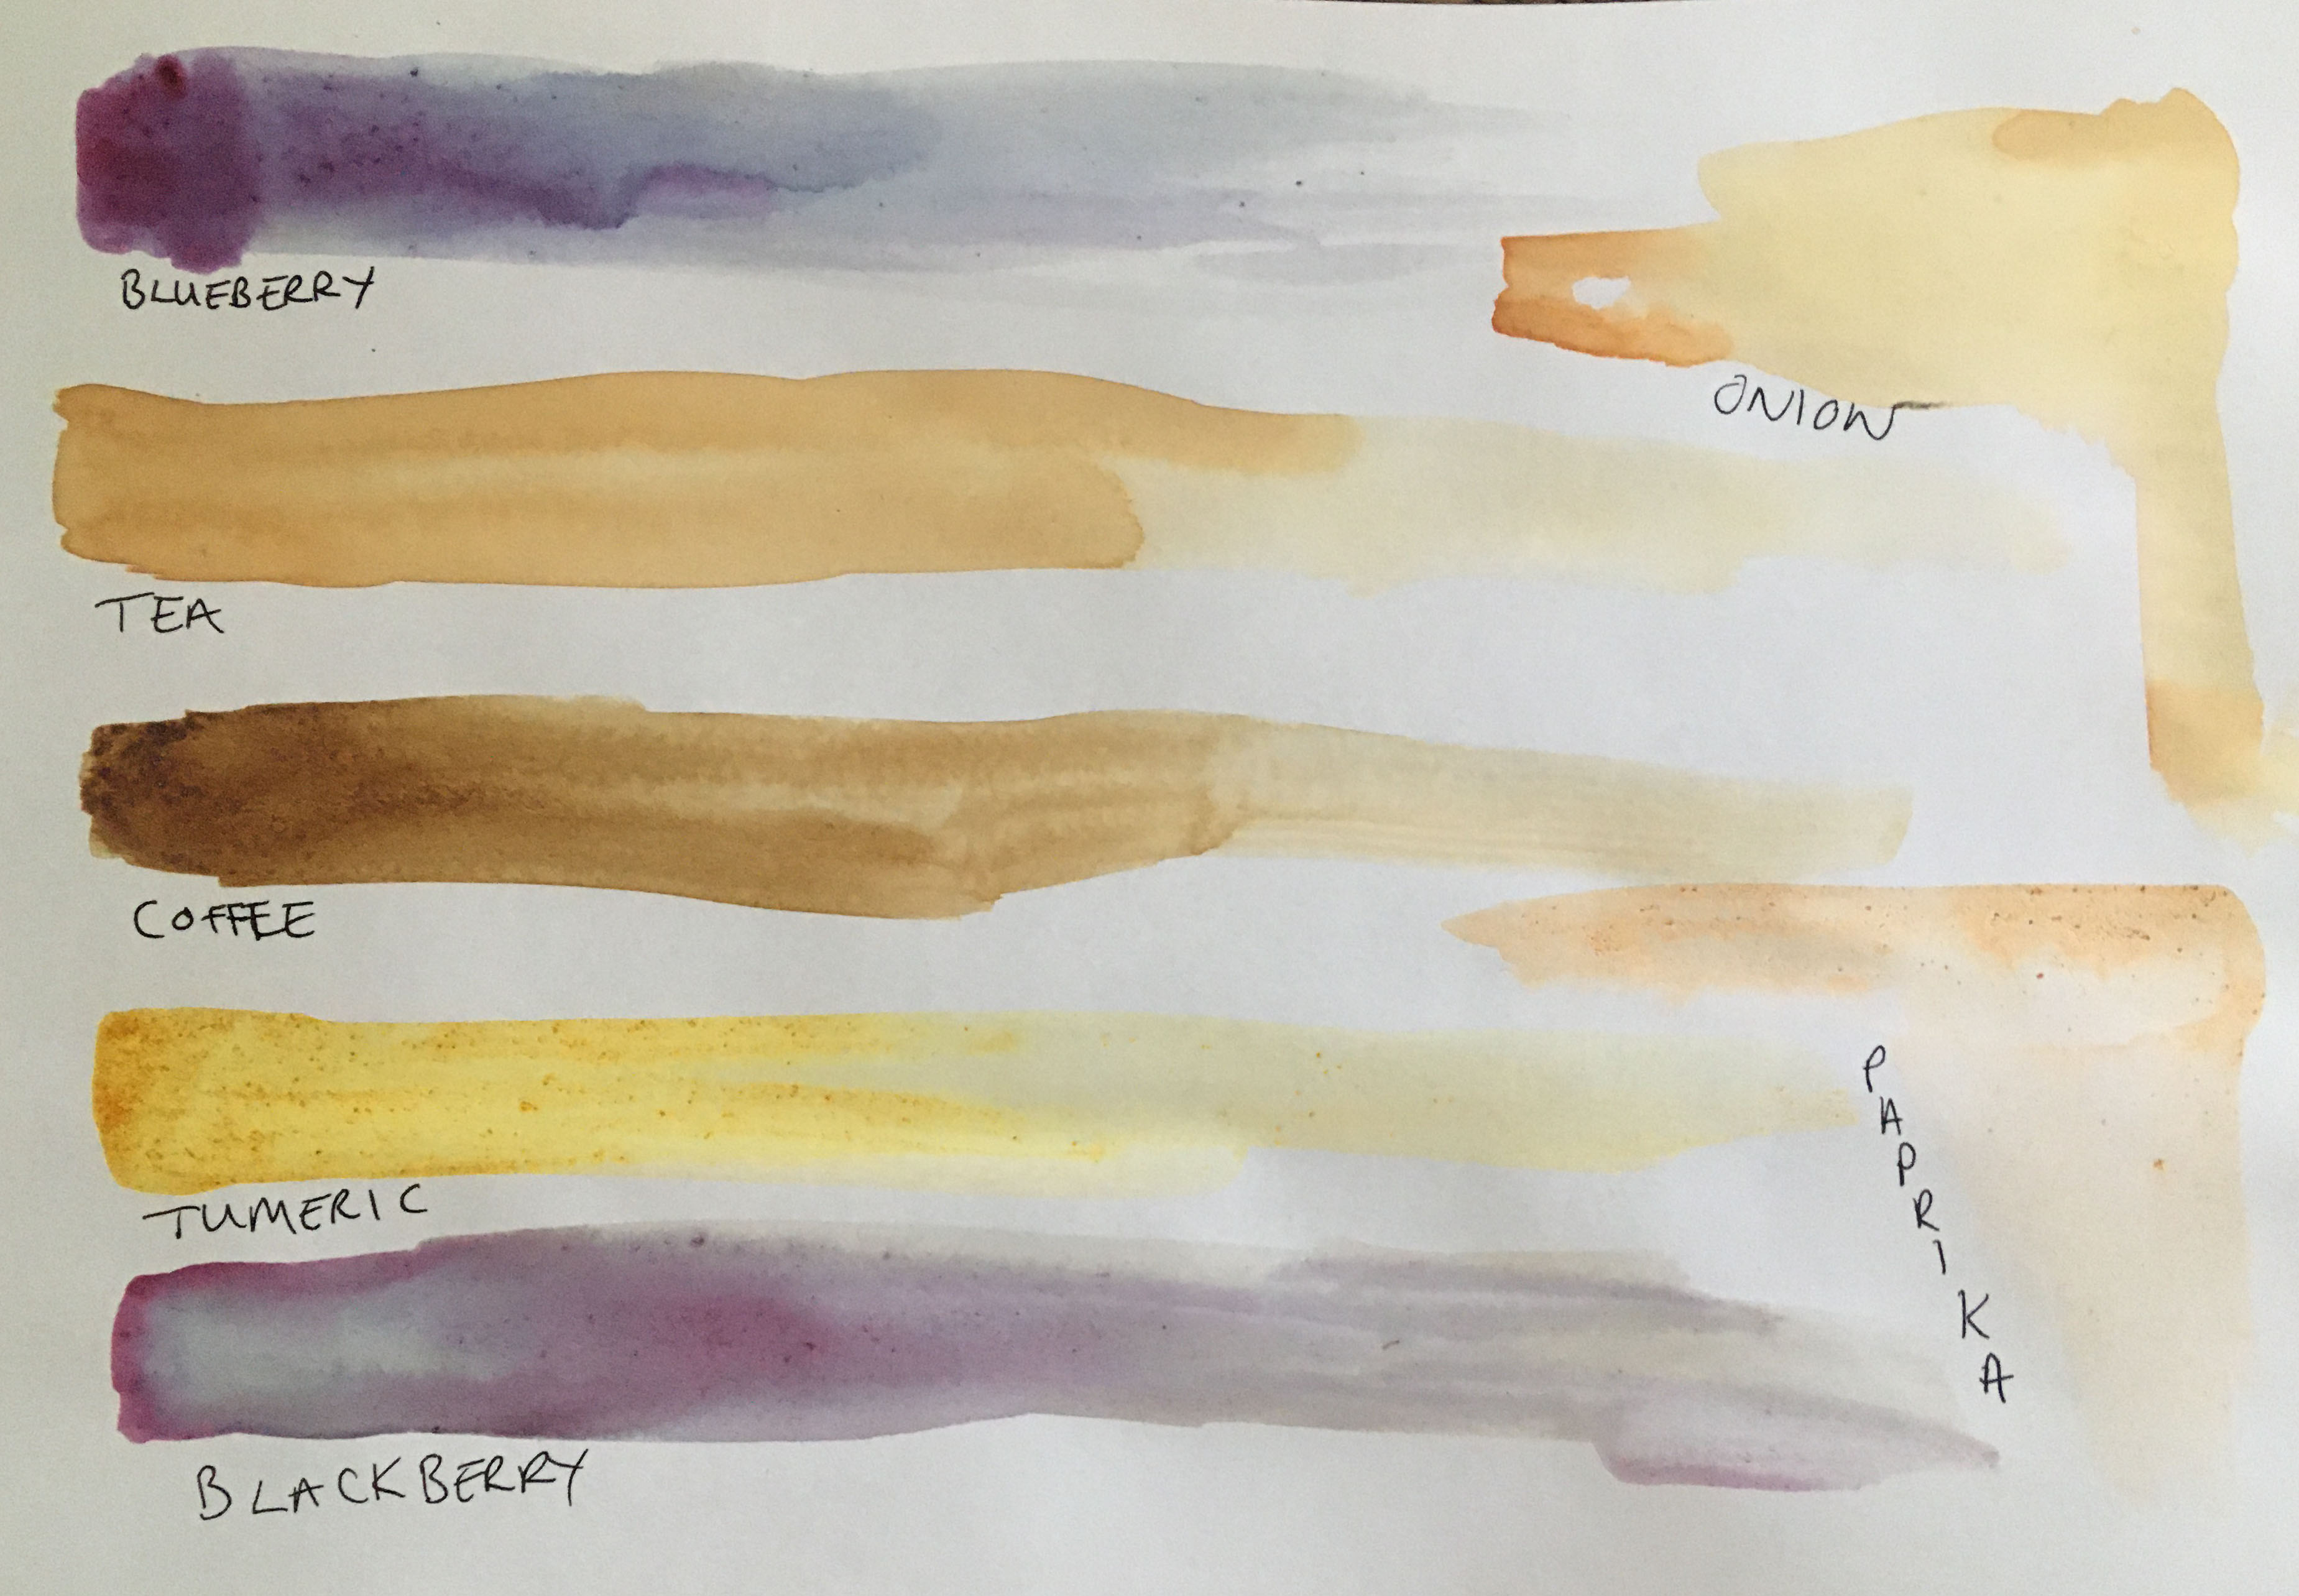
Once you have created your pigments, try them out to see what shades you can achieve. You can vary the shades by adding more or less water.
The colours will evolve as they dry, so make sure you note down what food you have used to make the colour.
Now you have your ‘paints’, on to creating your design!
Activity part two – Creating a Constructivist-inspired artwork
We are going to use the pigments that we create from food to make a Constructivist-inspired art work. Constructivist artists include; El Lissitzky and László Moholy-Nagy. The movement started in 1912 in Russia, and the artists involved focused on art and architecture.
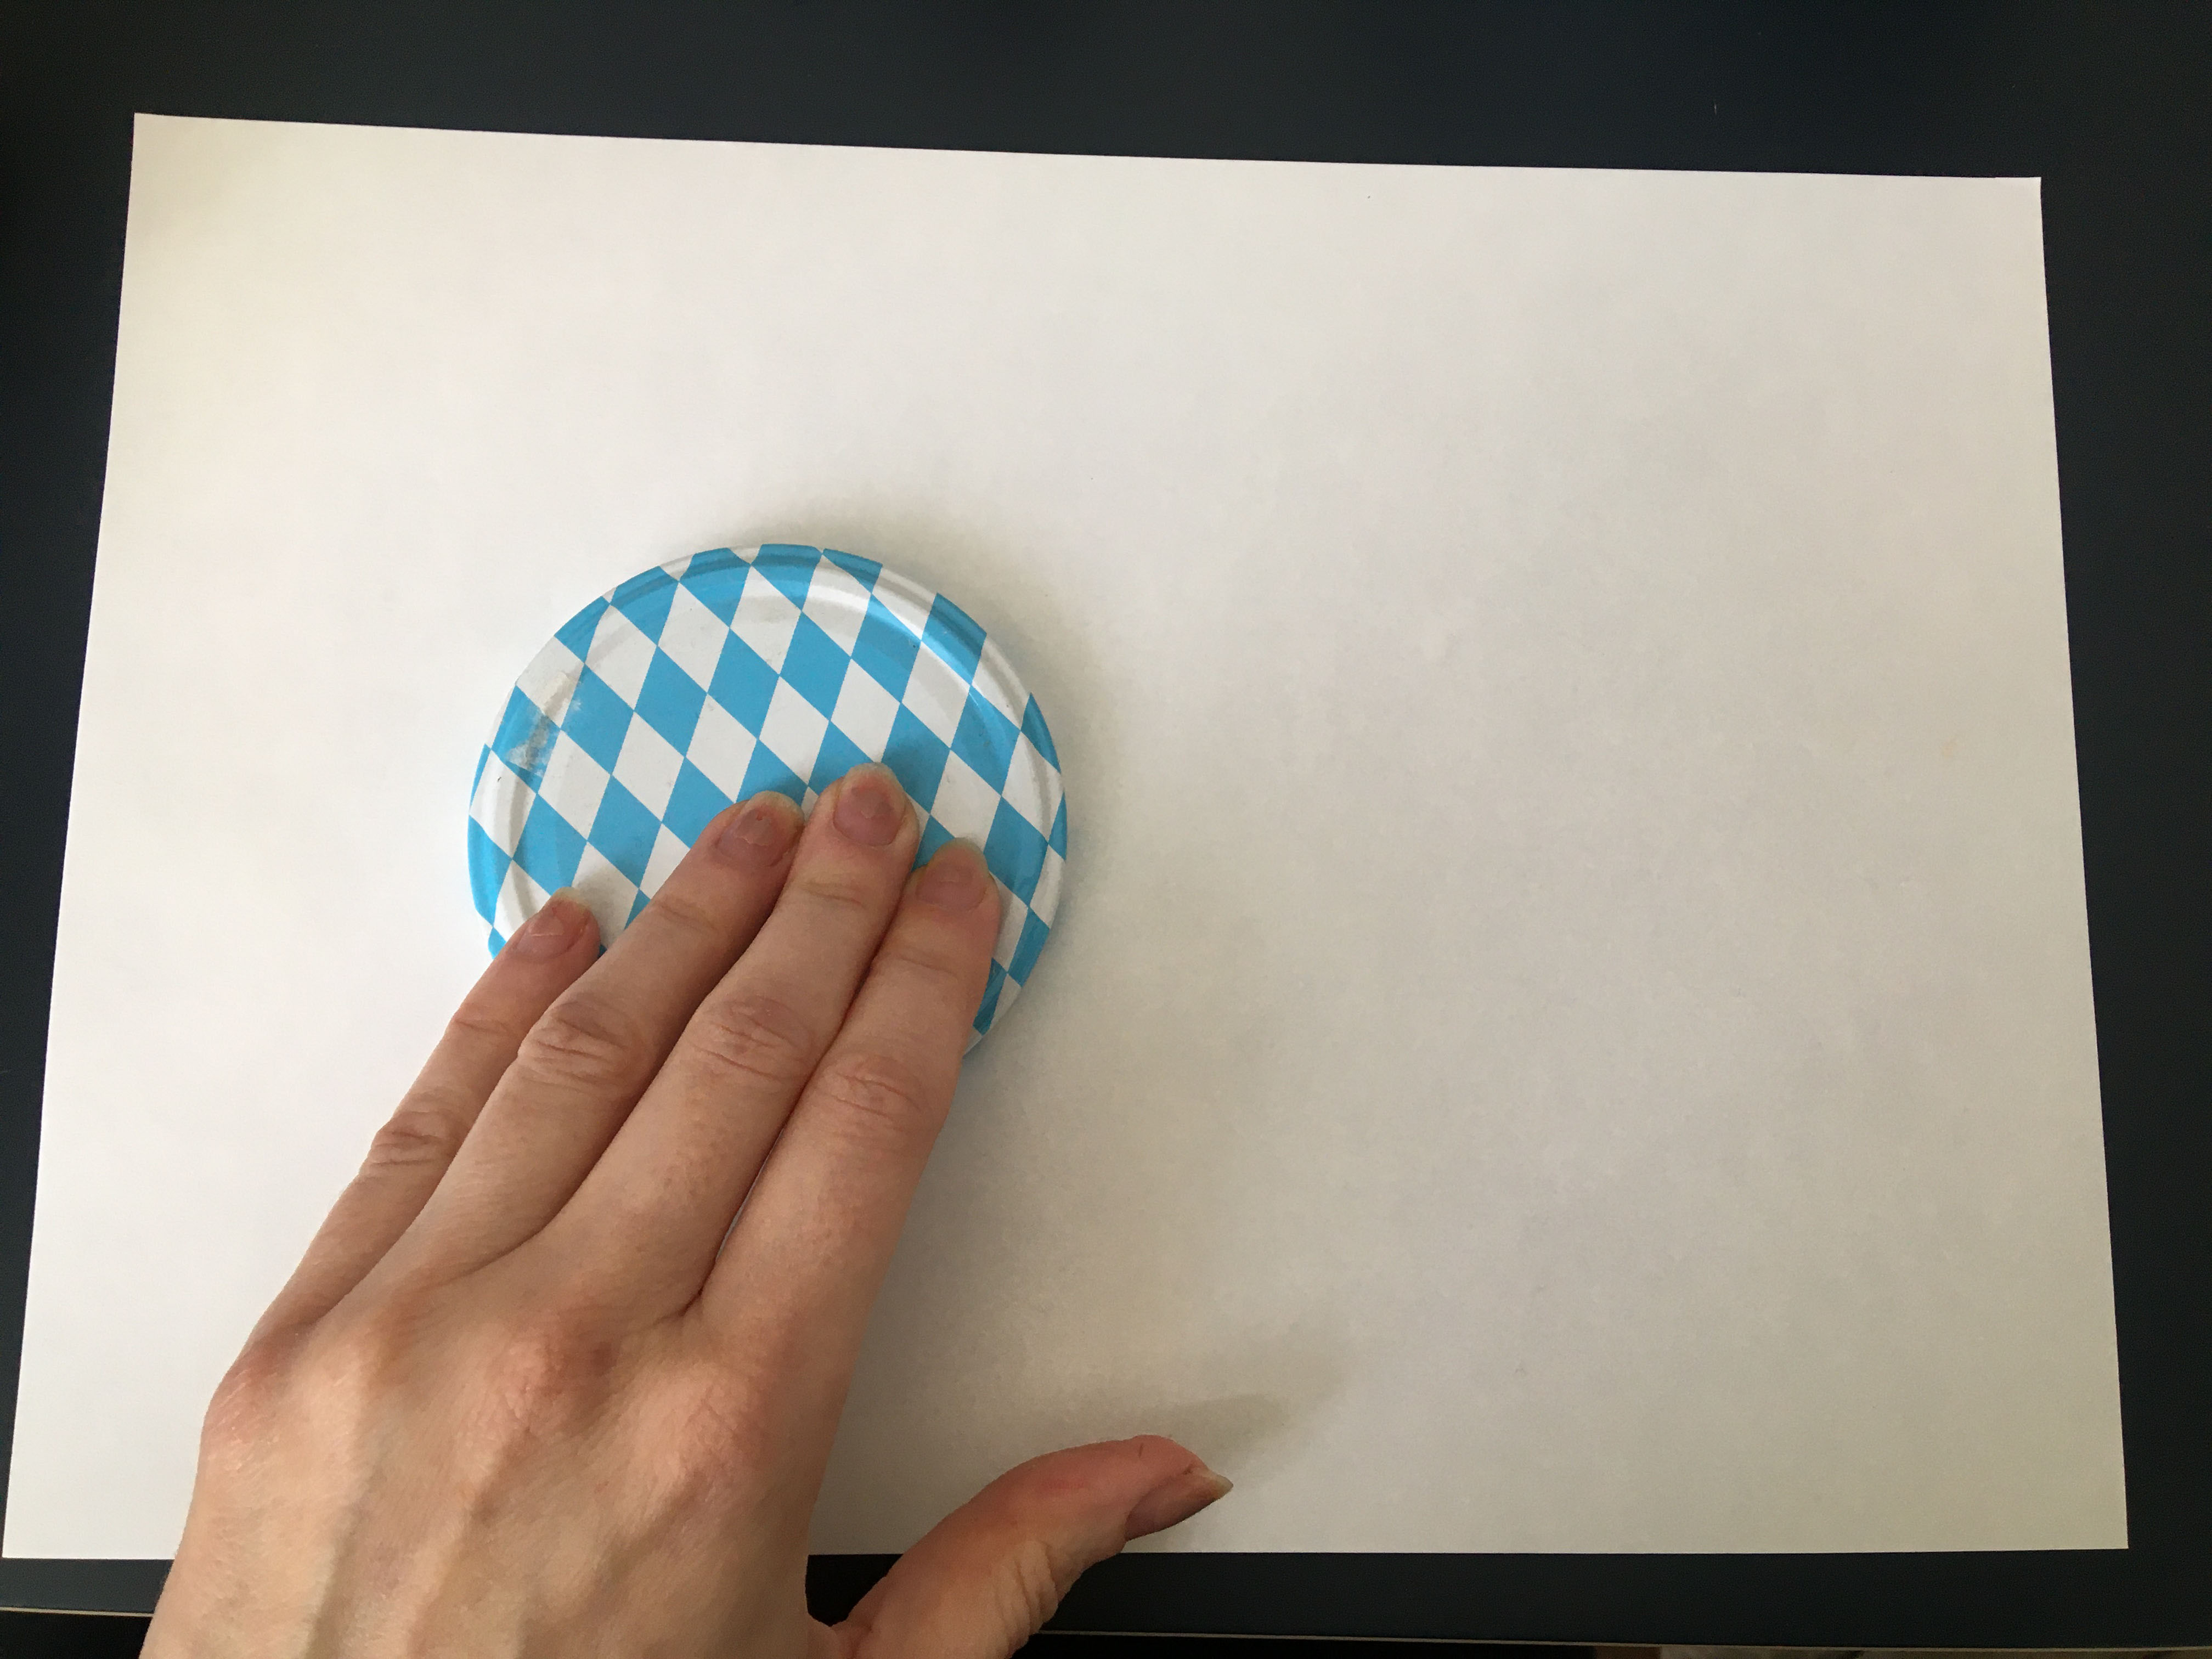
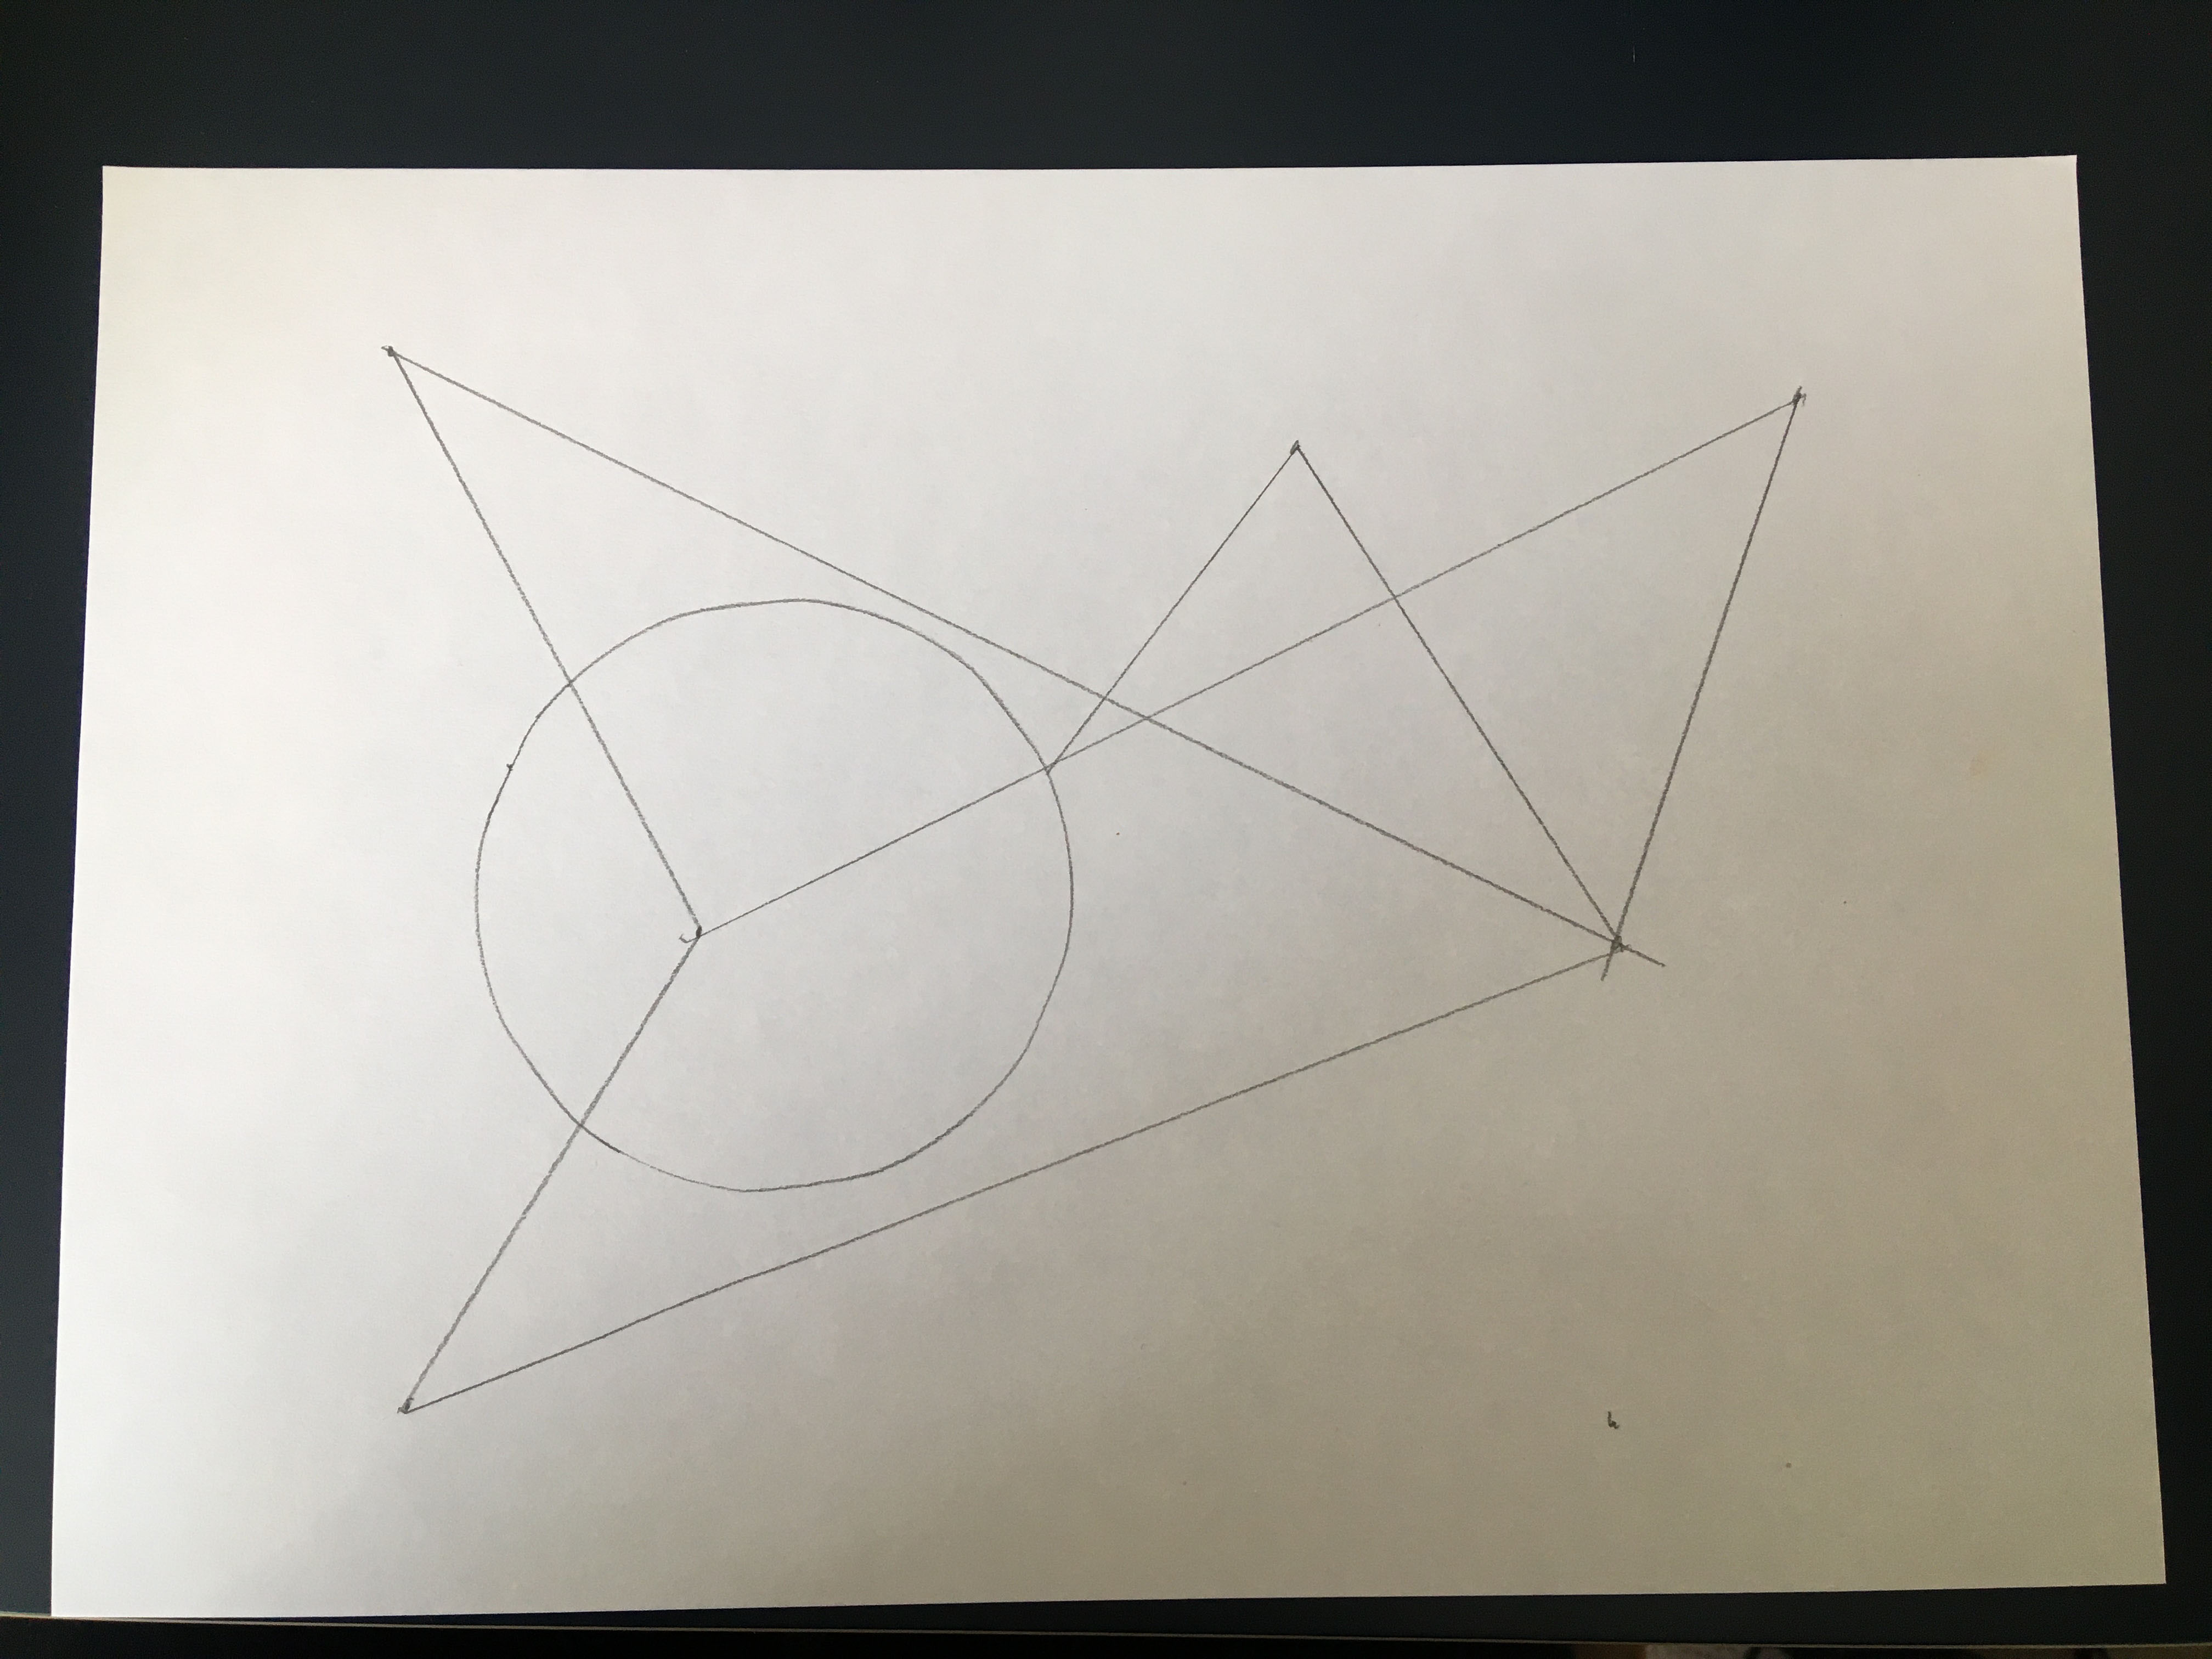
Draw a circle on your piece of paper. I have used a jar lid, but you could use a compass or a small plate. The circle size doesn’t matter, as long as it isn’t too small.
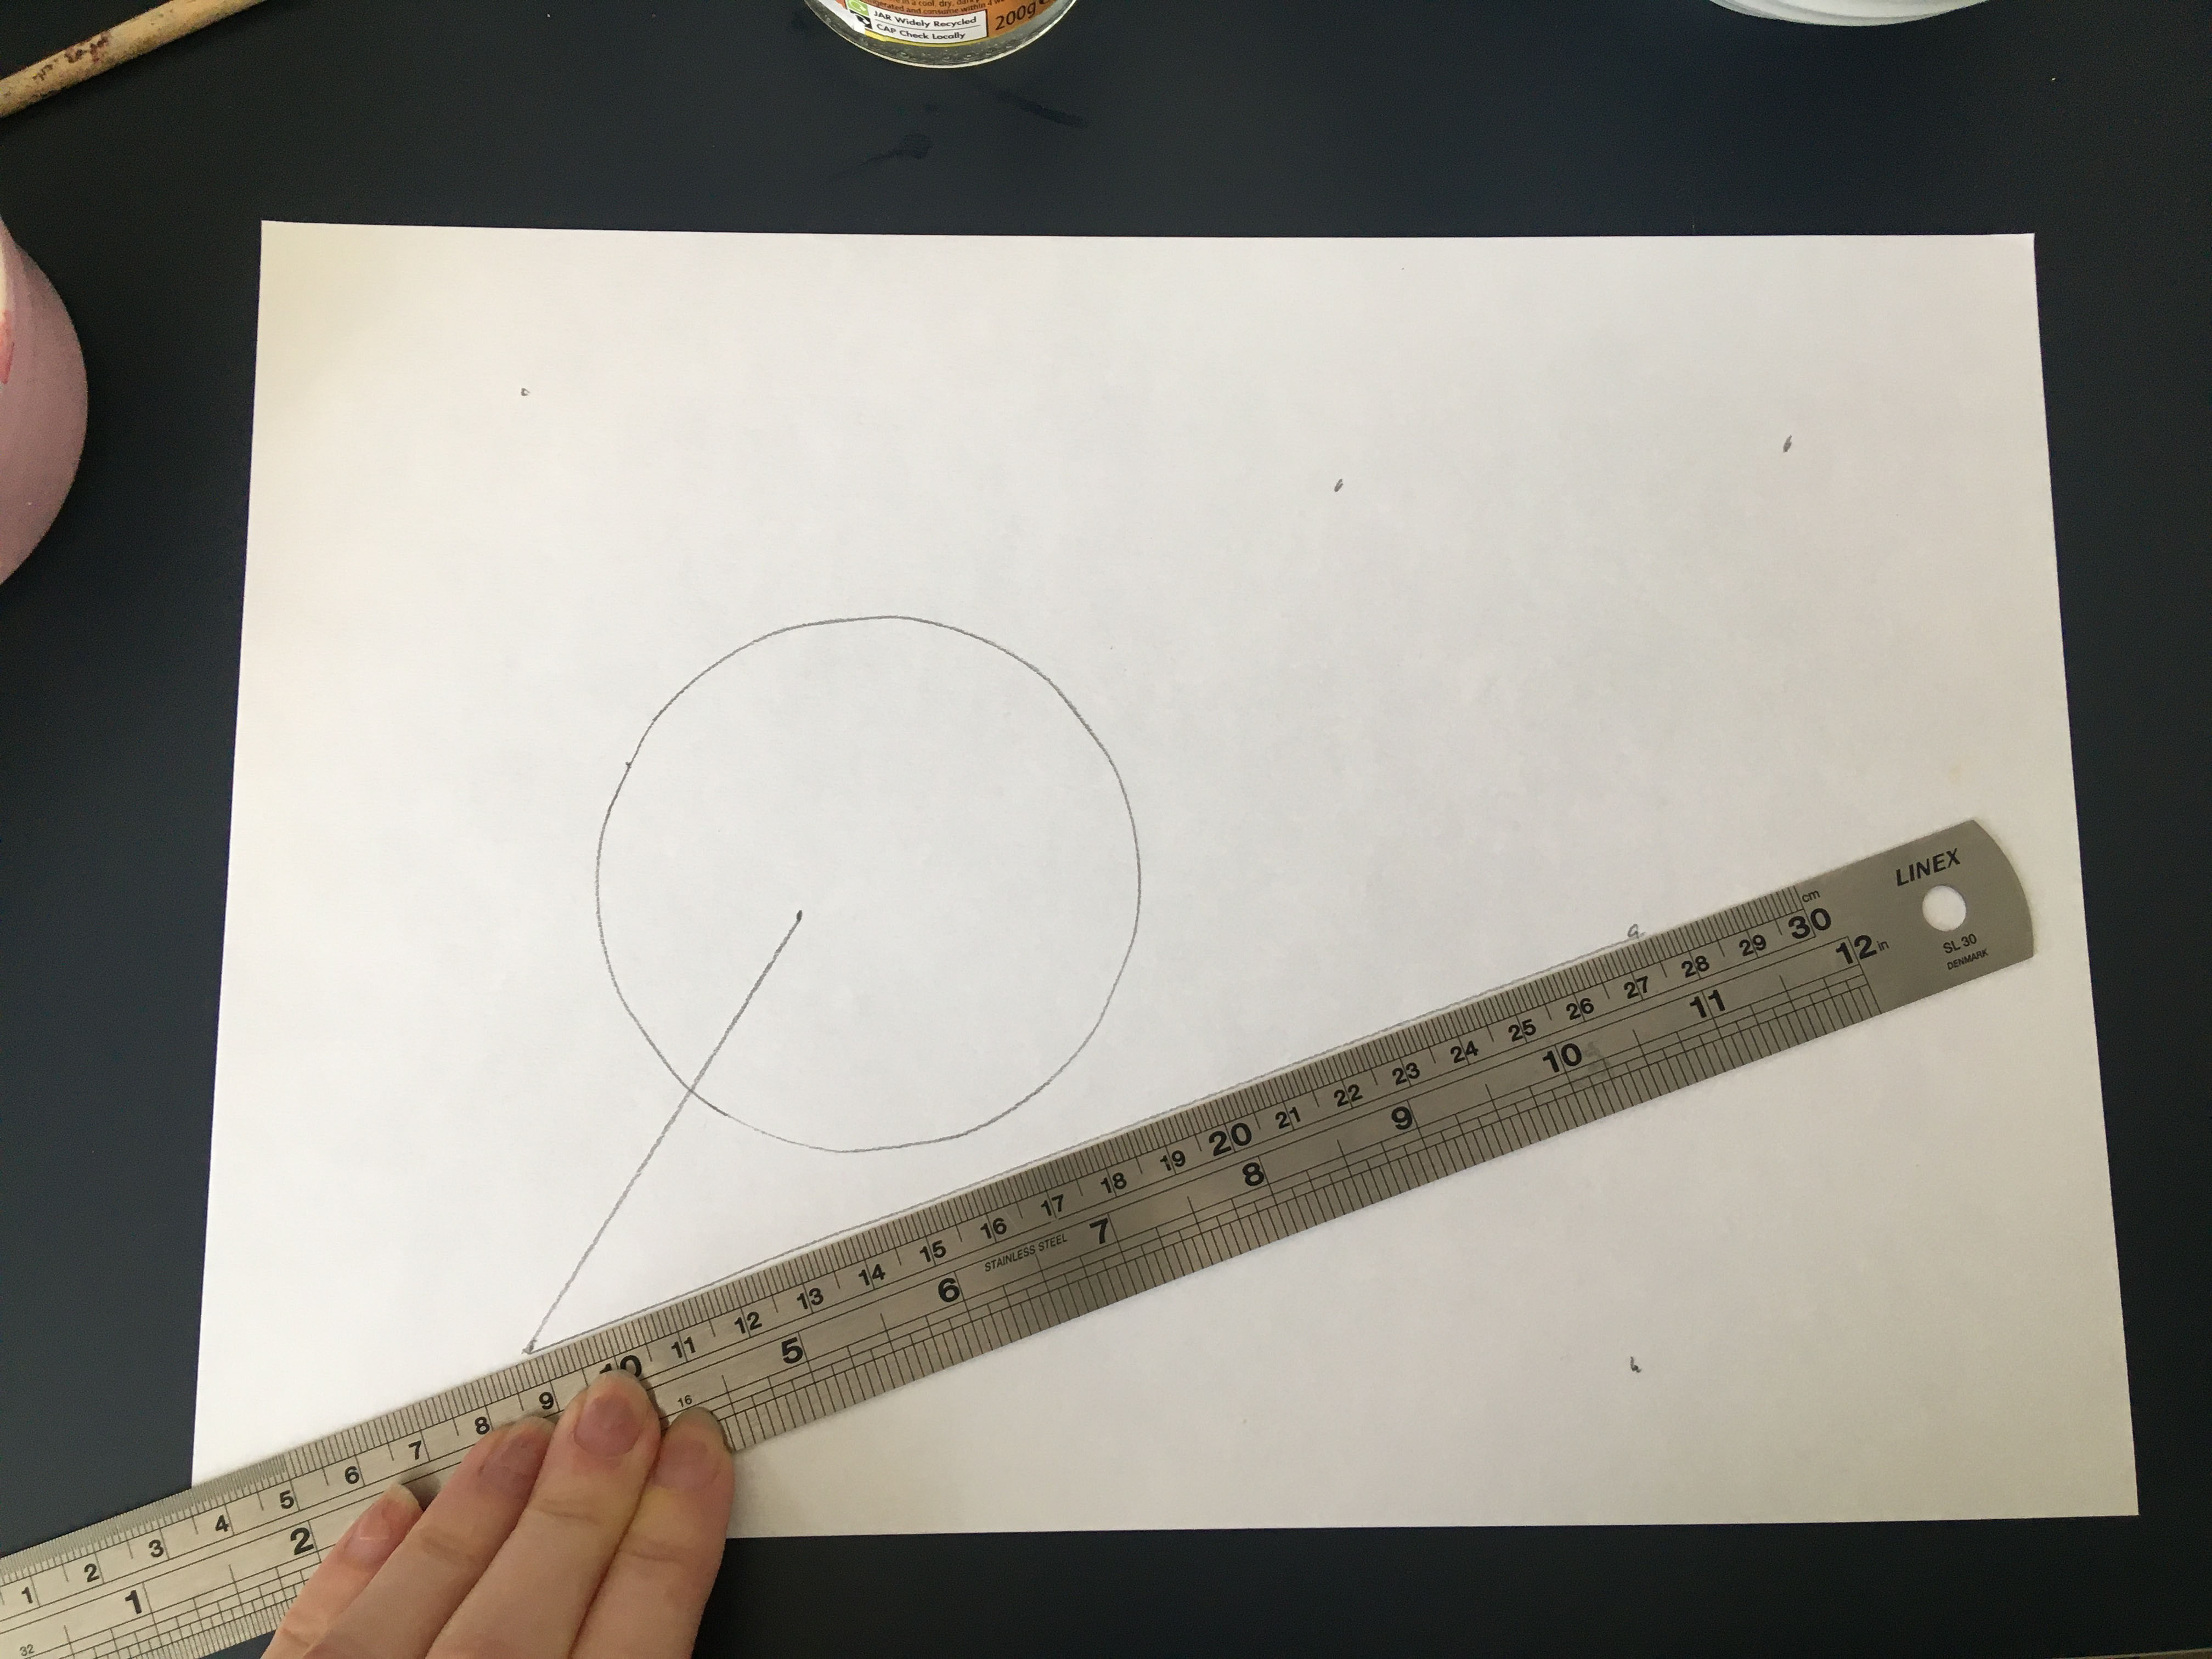
Next, make random marks with a pencil. You are going to connect these with your ruler or straight edge in the next stage.
Now connect your dots together using the ruler. The aim is to connect the dots, so that you have shapes to which you will apply your ‘paint’.
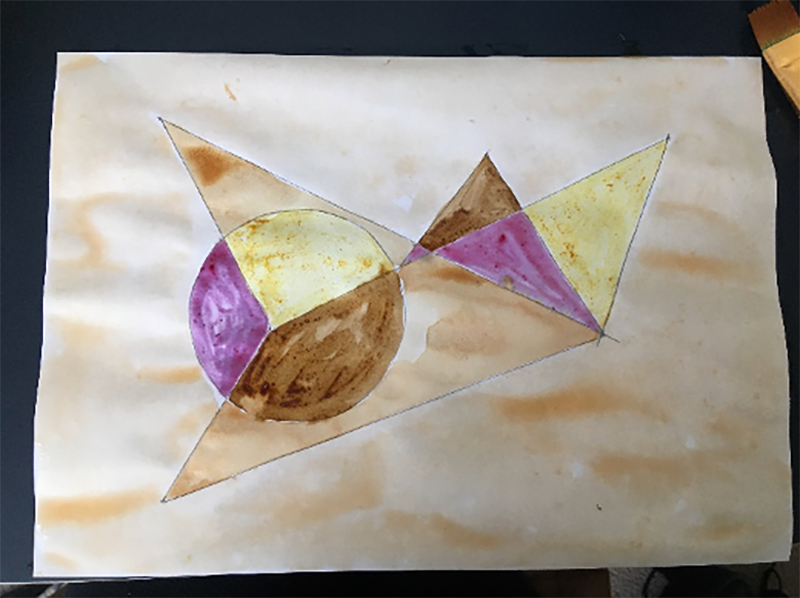
Once you have created your shapes, you can start to apply colour, using your ‘paints’ and a brush.
Make sure that you keep the different colours away from each other, so that you don’t end up with large areas of the same colour.
Further Development
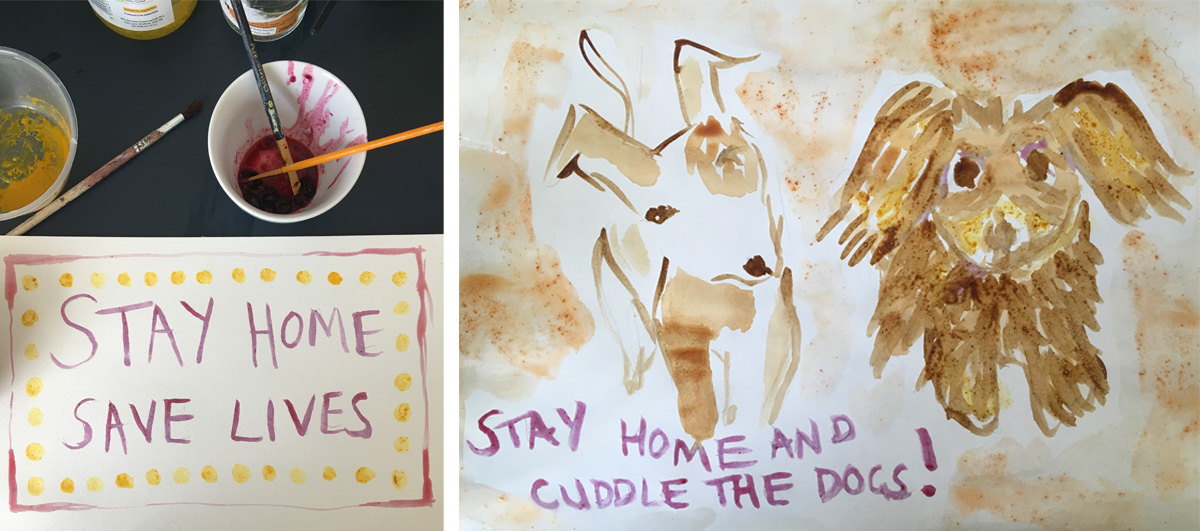
Now you can try experimenting with different ways to use your ‘paints’ and submit your outcomes below!
Thank you for taking part in the Nottingham Trent University Art&Design Saturday Club Workshop.
Submit your final painting and pigment photos or post online andtag @natsatclub and @ntusat_artclub
Contributed by Rosemary MacLennan, Nottingham Trent University Art&Design Saturday Club
Rosemary MacLennan is the Co-ordinator and Lead Tutor of the Saturday Art Club in the College of Art Architecture Design and Humanities. Rosemary took over as the coordinator and tutor of Saturday Art Club in 2015. During this time, she has worked with Arts Council Collection, Yorkshire Sculpture International and a network of over fifty universities and arts organisations. In September 2019, Rosemary delivered a talk at the V&A to the Saturday Club tutor network on Engaging young people.